One of the biggest challenges I found when starting out with astrophotography was getting sharp focus. The simplest way to do this is just to use live view or take trial pictures until the 'dots' of stars are as small as possible.
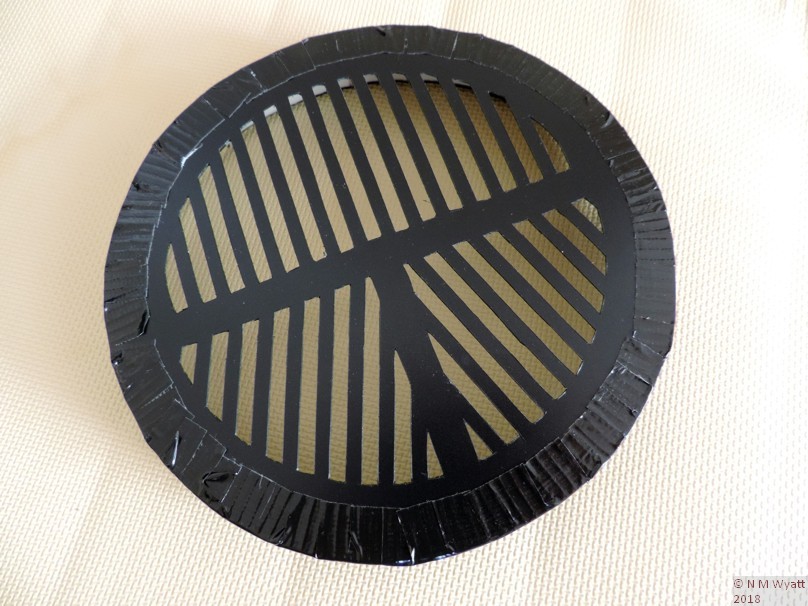
A really simple solution is a 'Bahtinov Mask'. This is a simple device that has a pattern of 'slits' at three different angles. Each set of slits diffracts the light that passes its edges and smears the light from each star into a double ended and rainbow coloured spike. This is my home-made Bahtinov mask (although i am now making my own 3D printed masks - download the STL files here).
A home-made Bahtinov mask cut from a plastic folder
Focusing with a Bahtinov Mask
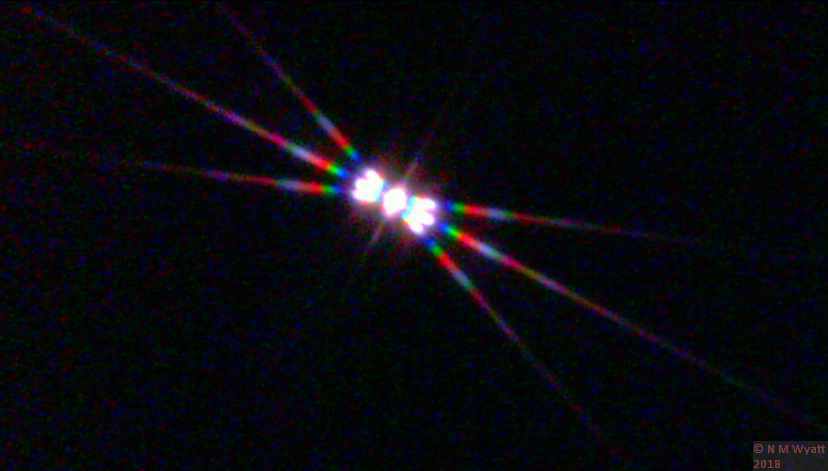
Naturally three sets of slits create three 'spikes' and the clever bit is that, when the scope is in perfect focus the three spikes cross at a single point. It is best to use a very bright star like Vega, Sirius or Capella and ideally in the same part of the sky as the object you want to photograph. If you have a live-view camera or are focusing for visual observing, just find the bright star, fit the mask over the end of the scope, and twiddle the focus until three colourful spikes appear. The central spike will move up and down across the two diagonal spikes, so keep twiddling until you get an image like this:
Focus is achieved when the central spike crosses the other two at dead centre. It is slightly low in this picture, a shorter exposure would give sharper but fainter spikes.
If the seeing is poor, the spikes may move slightly, so just aim for the best position. Bear in kind that VERY TINY movem,enmts of the focuser can be detected using the mask so be patient and get rewarded with spot on focus.
For a camera without live view I find an exposure of about 4 seconds at ISO8 gives a bright clear image.This has the advantage that any wobble of the lines caused by poor seeing is averaged out. Naturally you have to take several trial shots until you get it right. As the movement of the spikes is roughly proportional to the movement of the focuser, it usually only takes five to eight tries, assuming the scope is roughly focused to start with.
Getting the Best results from a Bahtinov Mask
The first rule is to make sure your scope has cooled down - this can take roughly five minutes for every inch of mirror or lens diameter. We are worrying about getting focus accurate to tiny distances (say a hundredth of a millimetre) and a steel-bodied scope a metre long will shrink by over a tenth of a millimetre for a ten-degree cooling down, this is to say nothing of how a mirror or lens will not focus accurately until is has cooled evenly.
When observing or photographing planets or even the moon, I get better results focusing on a nearby bright star as the mask should be used with a point source.
Some folk will tell you to always fit the mask the same way round so you know which way to turn the focuser. As it's so quick to use anyway, I don't bother.
If you swing the scope to look at distant parts of the sky or the temperature changes significantly, it's worth taking five minutes to refocus. If you are taking pictures, zoom in and check that your smallest stars really are tiny points.
If you want to get the very, very best results from wide field images, then the advice is to position the star at a point one-third in from the edges of the image or field of view, rather than the centre as you might do if you were photographing planets, for example.
Making a Bahtinov Mask
If you put 'bahtinov mask' into your favourite search engine, you will find dozens of people happy to sell you one, but it isn't hard to make your own. First, you need the layout for your mask, the easiest way is to use a pre-prepared pdf template, but if you want to customise the layout and size of your mask you can use an online generator, however the one linked to produces SVG files so you will need a suitable editor as printing it from your browser may not give you one the right size.
For my masks I printed out my template and taped it to a sheet of heavy-gauge black plastic from a document wallet. using a very sharp craft knife I cut out the slits (children of a certain age should use round-ended scissors and ask an adult to help).
I then cut a strip of foam from a camping mat and adjusted the length of this so it was close fit on the end of my scope. Off the scope I superglued the ends together. Back on the scope, I overlapped the end with a length of black gaffa tape which i then cut little slits into so it became a ring of sticky tabs. It was not too hard to drop the masks inside the ring and neatly(ish) fold over the tabs. Jon done!
Results
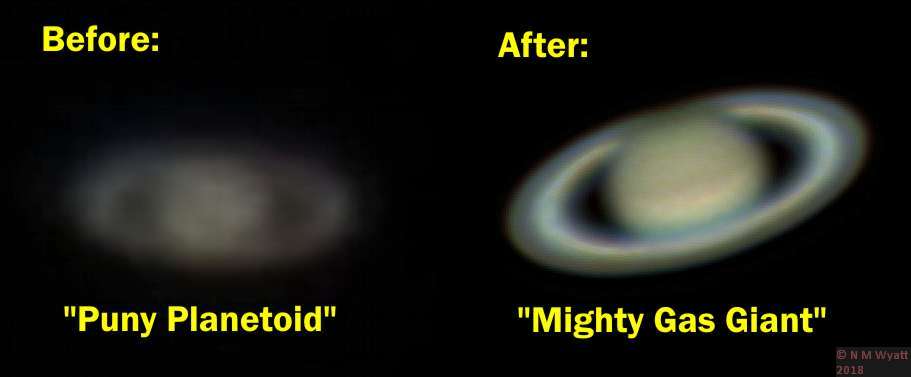
Use a Bahtinov mask and you will see an instant improvement in your imaging:
The Charles Atlas of Planetary Imaging (your mileage may vary, simulated image, serving suggestion)


