Georg Schlesinger was born in Berlin in 1874. After a short but successful career in induistry in 1904 he became professor of Machine Tools at the Technische Hochschule Charlottenburg. During the First World War he was the head of the gun plants at the Spandau works, but also worked on arm and leg prostheses for injured soldiers.
 Georg Schlesinger 1874 - 1949
As a Jew, he faced difficult times with the rise of the Nazis and he was charged with embezzlement, industrial espionage and treason. Following a brief time at the ETH Zurich, he gained a professorship at the Free University in Brussels. Schlesinger headed a laboratory at Loughborough from 1939 to 1944, and died at the age of 75 in Wembley.
He was a highly inventive and successful engineer, but his greatest contribution was his work on testing machine tools. The 'limits' he devised are still used to set the standards to which production and toolroom machinery are made today, although some modern machines work to standards he could only of dreamt of. The clever thing about his standards is that they are designed so that any errors, wear or flex in the tool will either be in the direction where least problems are caused (e.g facing slightly concave, not convex) or to reduce any residual errors before they make it worse. A common misunderstanding is that these errors should be 'built in'. This is not so, they are 'tolerance bands'.
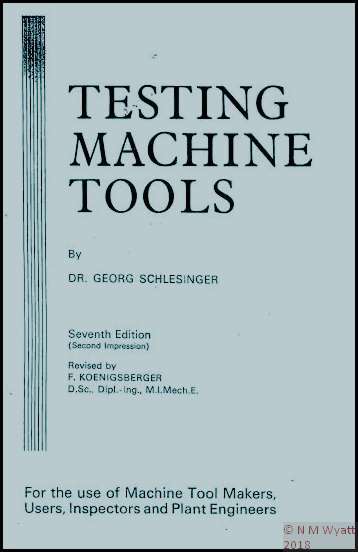
Testing Machine Tools
Be aware that to properly test machine tools you need measuring equipment of greater accuracy and a lot of skill and care. Lathe owners can become despondent, reject their machine or try all sorts of unusual 'fixes' if their machine fails the tests. Often the reason for failure is not the quality of the machine, but a loose spindle, a misaligned bed, dirt or swarf on mating faces or flexibility in the mounting of a dial indicator.
Equally I have seen a quality milling machine described as 'built to Dr Schlesinger's limits' - this is misleading, as there are different sets of figures depending on the use of the machine: whether for the toolroom or the factory floor, for example. And a temperature controlled toolroom, as clean as an operating theatre, is far from the typical hobby workshop!
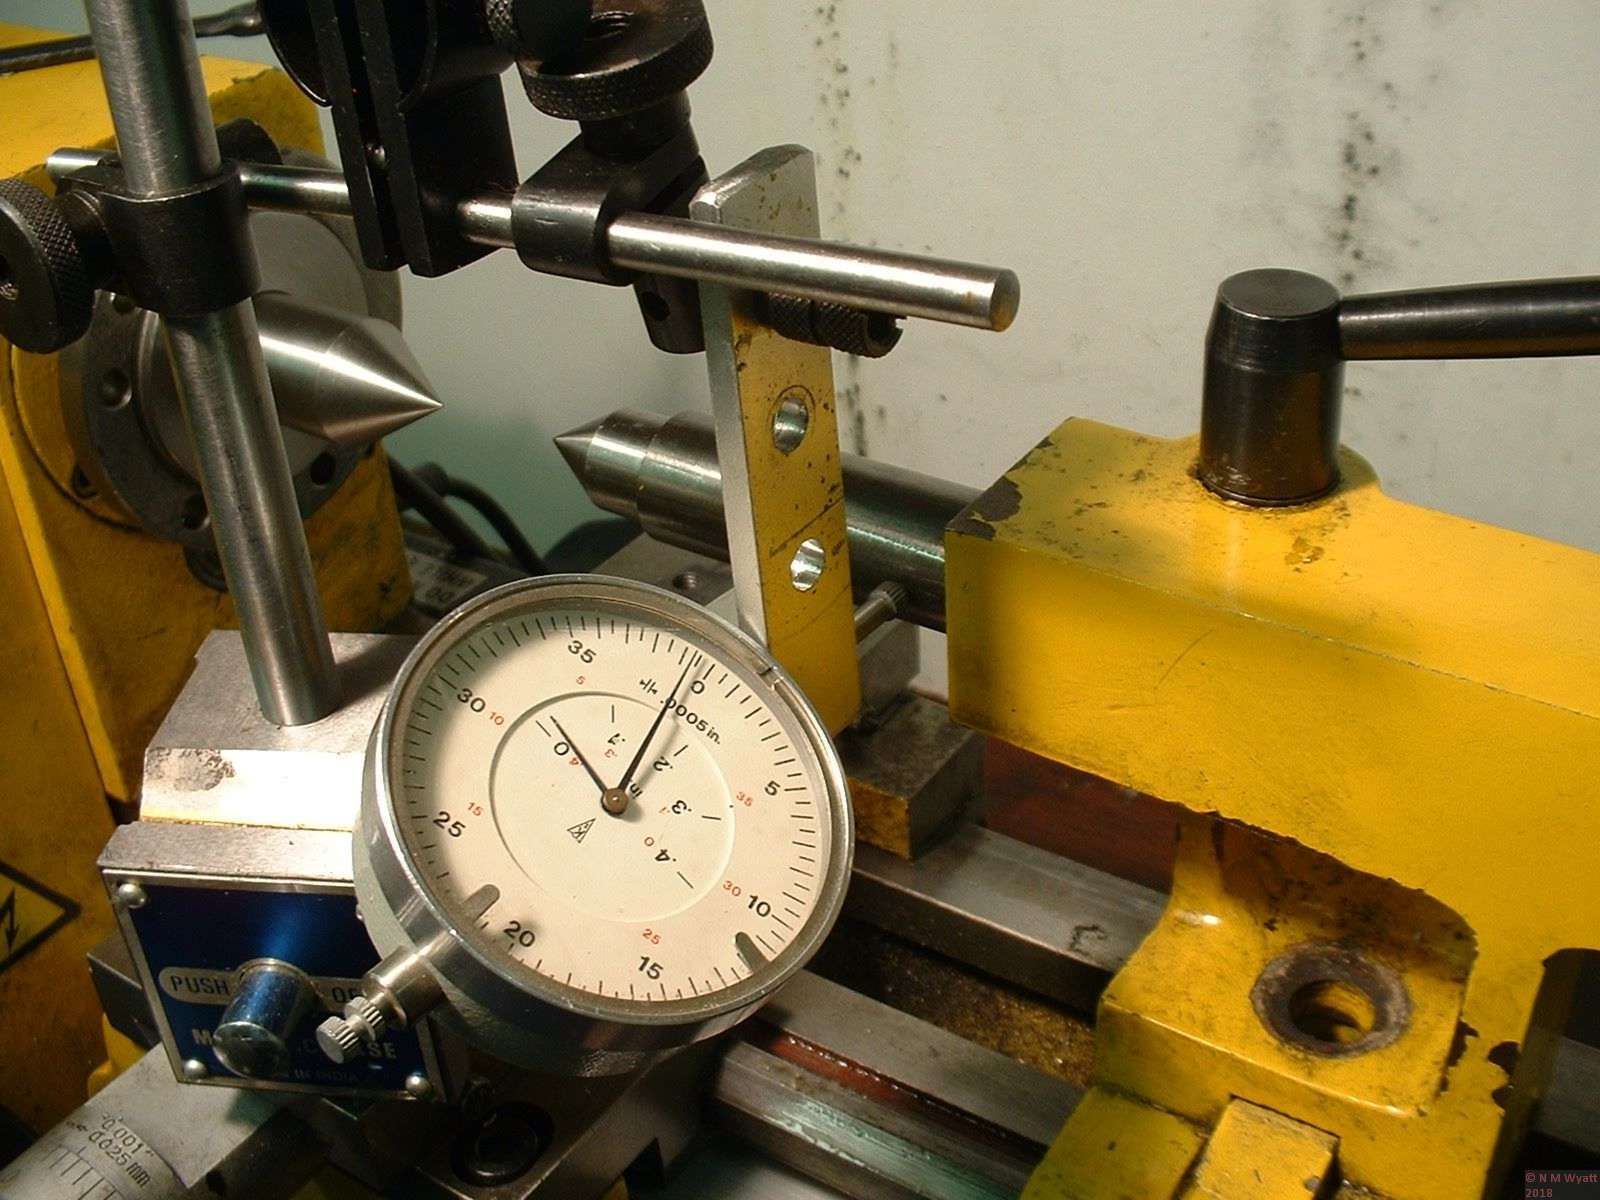
Testing alignment of a tailstock barrel
In truth, there is only one valid test of a machine tool - will it allow you to produce work to the standard you need? So turn or mill some test pieces, and if they aren't up to scratch put some effort and thought into carefully adjusting the machine , rather than assuming it is faulty. Any fool can make bad work with the best machine, but a skilled machinist can turn out excellent work on a poor machine.
With that caveat, here is a copy of Dr Schlesinger's testing machine tools, should you wish to spend your days chasing illusory tenths of a thou...


