Of all precision tools d-bits are the ones easiest to manufacture from the scrapbox. They are the true and proper destiny for the final two inches of any self-respecting bar of silver steel.
It is possible to take the manufacture of d-bits to the level of high craftsmanship. George Thomas made a special jig to hold his d-bits while he milled them to the correct thickness. Peter Wright has a design with a reduced shank, rather like a boring tool, to ease the flow of swarf. Nevertheless, for us ordinary mortals the simplest of designs will work.
A d-bit cuts only on its end. The name comes from the cross section of the tool, which must be marginally more than a semicircle to ensure that it does not cut on its edges. Because the d-bit cuts its own precision guide as it goes, it makes accurate sized holes with a good surface finish. Many writers claim that a d-bit will produce better results than a reamer, which is not bad considering that they cost a few pence to make.
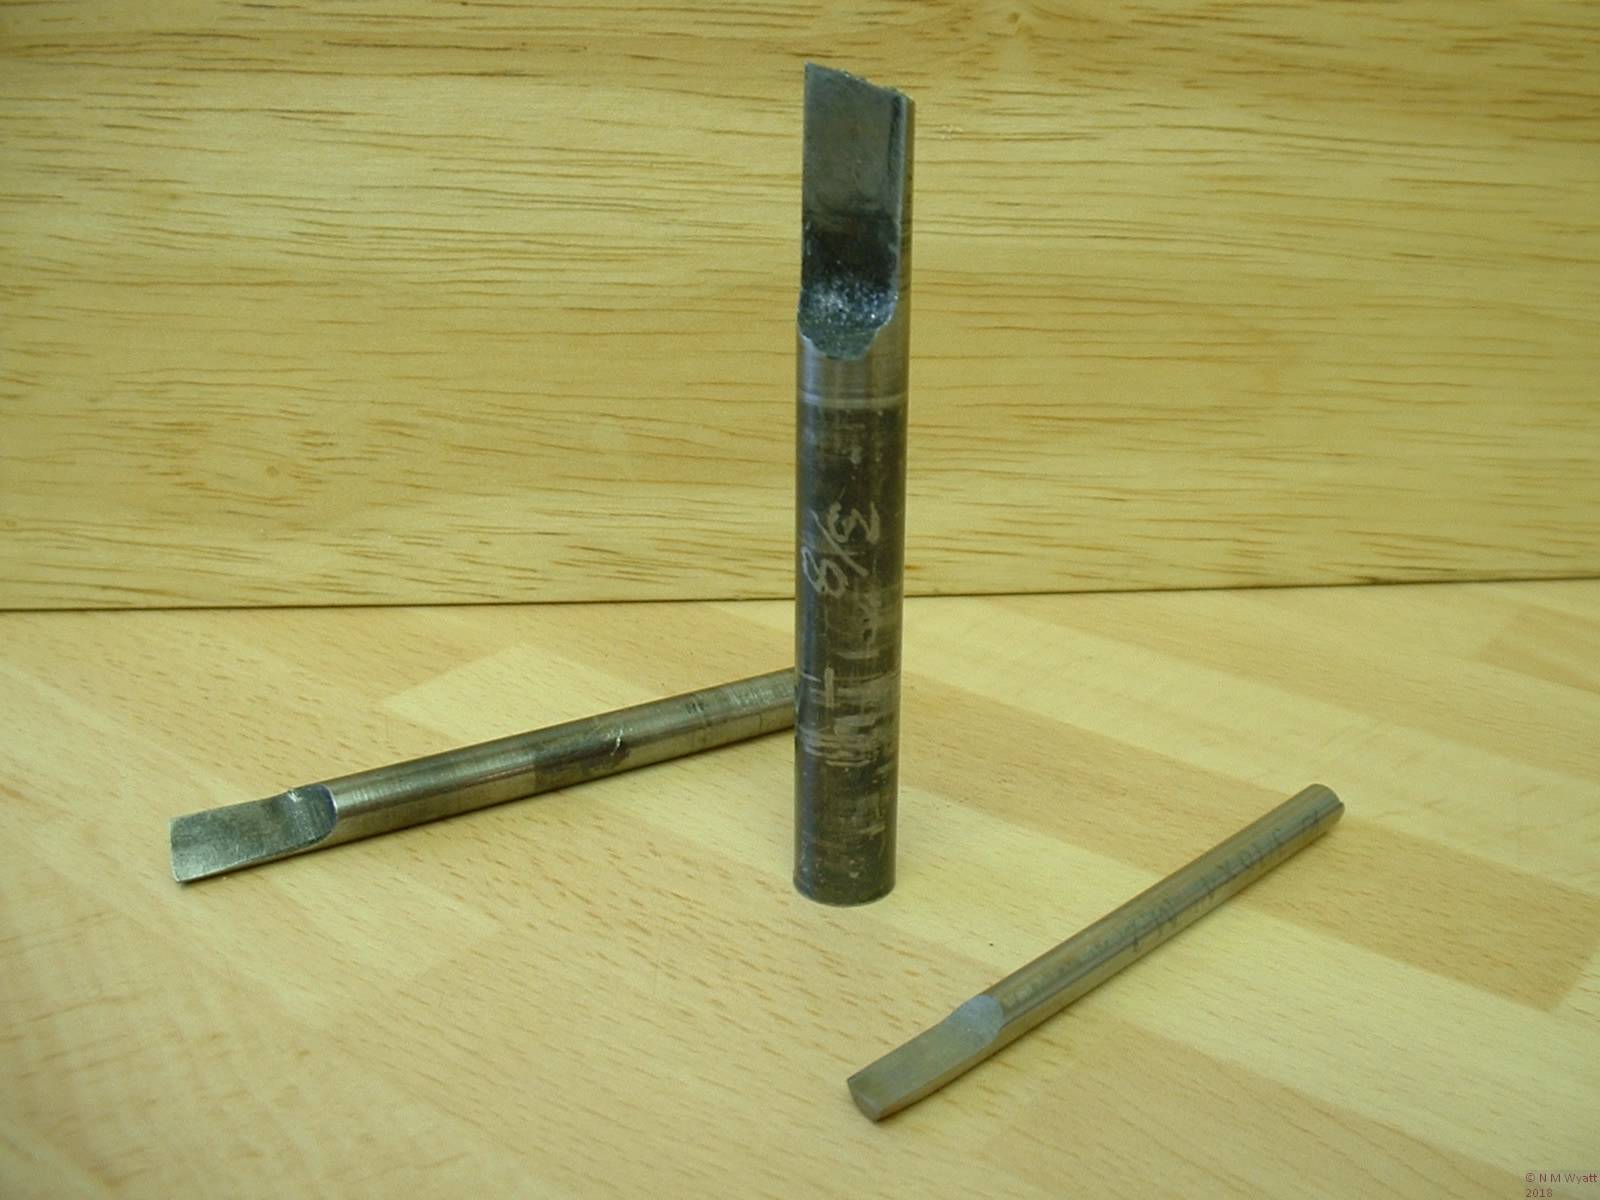
A selection of home-made d-bits
Manufacture is straightforward, simply grind, mill or file away a few thou less than half of the diameter of a piece of round silver steel. Shape the end of the bar to provide clearance and form the cutting edge. An angle right across the end cuts a little more freely, but if the end is partially straight it will allow you to finish holes with a square bottom.
The tool should be hardened by heating to a good red heat , then quench it end-first in clean water, with a gentle stirring action. Don’t just grab it with pliers, and shake it around in the water if it is of thick section it may well crack or distort (how do I know?) Don’t worry about soak-heating the tool as it is not critical to harden it to the core, indeed prolonged heating will burn out the vital carbon from the
cutting edges and diminish its hardenability. If you coat the tool in washing up liquid first it will be easier to clean it up, using wire wool or scotchbrite.
The tool will now be glass hard, brittle enough to shatter if dropped on a hard surface, (yes, it has happened to me). To temper it, apply gentle heat to the shank until the metal starts to form a coloured oxide film. The colours will run down the shank to the tip, and just as a ‘dark straw’ colour reaches the end, quench the tool again. Finally put a good finish on the end and the flat side of the bit with a slip stone – do not take any metal off the curved surface.
As it has no top rake heavy cuts are out and a d-bit is best used to finish a pre-existing hole. It does no harm if a short pilot the same nominal diameter as the bit is made to get everything off to a good start. Beware overheating the tip, as this will draw its temper and it will rapidly become blunt. The secret is to keep the speed modest and use plenty of lubricant. Swarf soon builds up on the face of the tool, so regularly withdraw it, and slap on a dab of cutting oil.
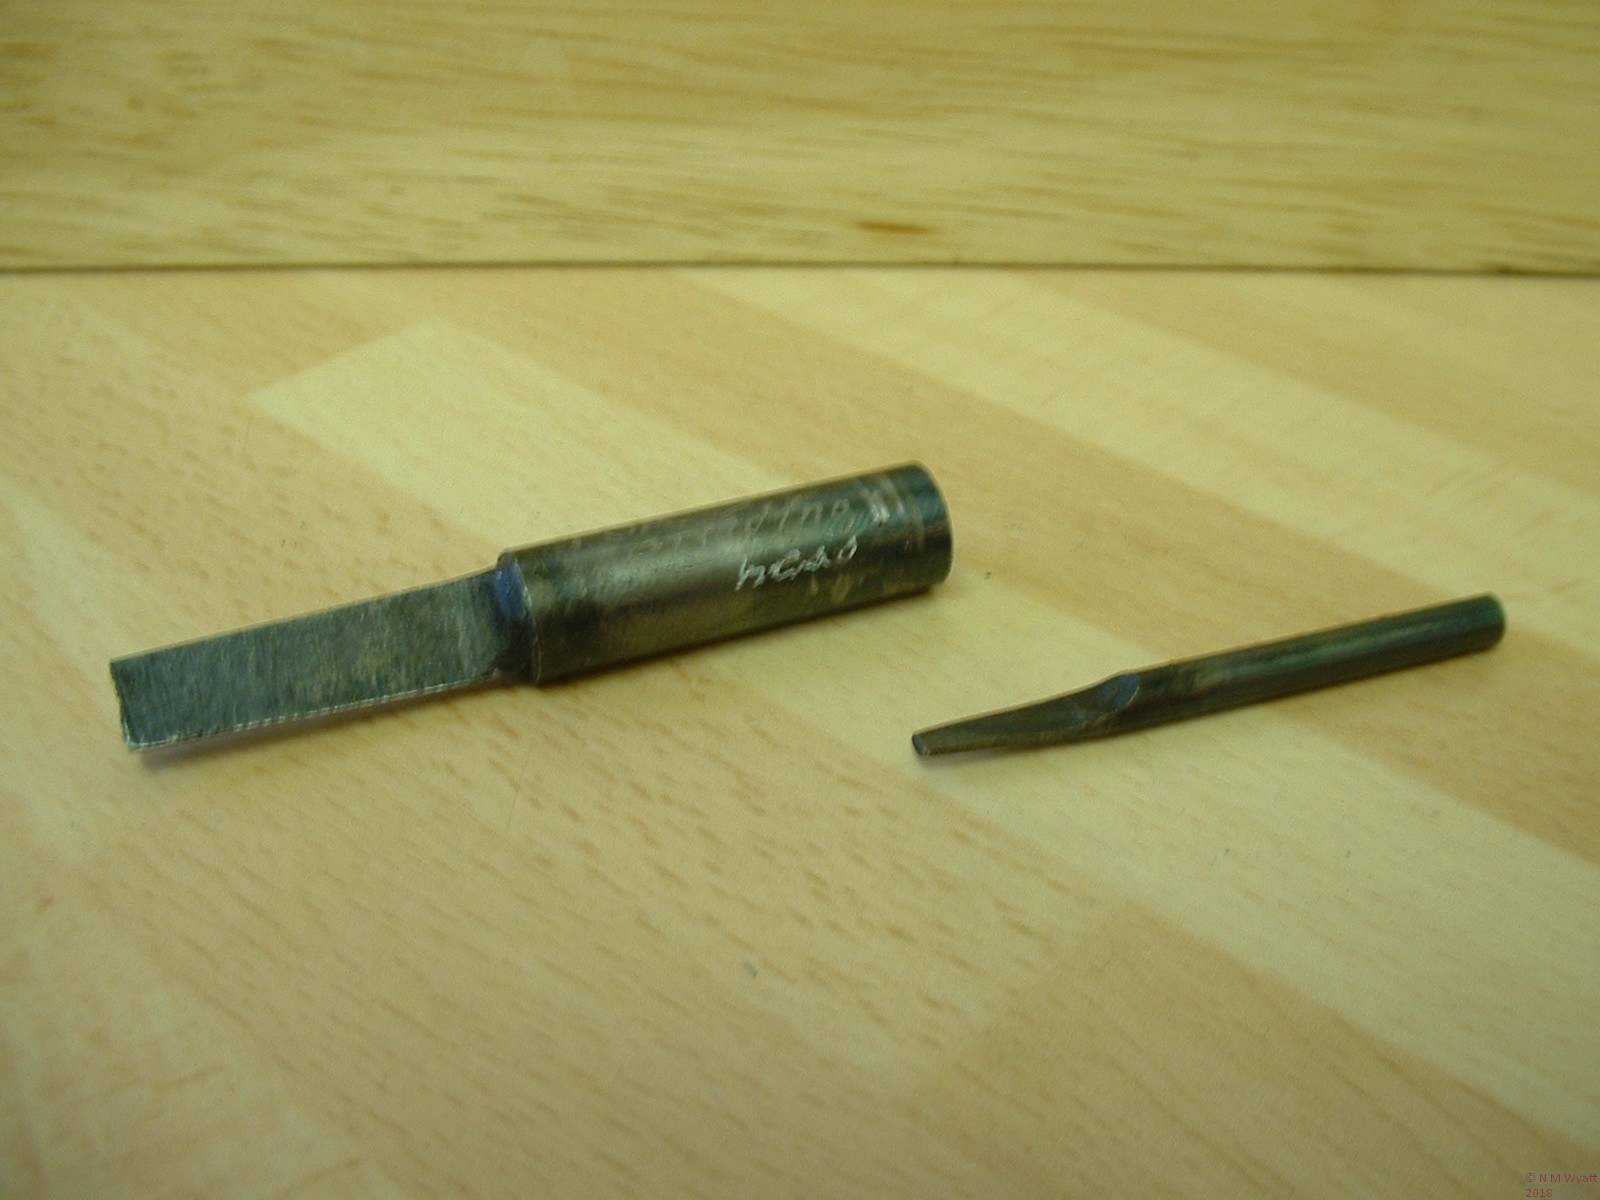
You can make d-bits for other purposes as well. Tapered d-bits can make accurate tapered holes. Turn up a handful of matching taper plugs with the lathe at the same setting, and they can be used to make taper cocks. A round ended d-bit can be used to make round sockets and rivet sets. One which is flat across the end can be used to cut or renew valve seats.
D-bit style taper reamers
One final thought – the so-called toolmaker’s reamer is an even simpler tool. In this case the blank is cut across at about 20°, hardened, tempered and stoned to a good finish. Less robust than a d-bit, such reamers will take a very accurate final skim from an undersize hole.


