If you find this website useful, please check out my books or visit my Amazon Author page. Or even Buy Me a Coffee!
3D Printing for Model Engineers
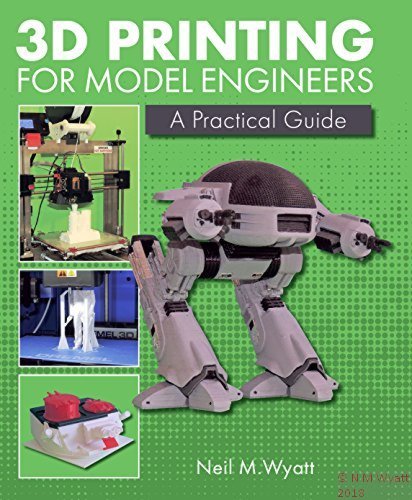
Browse this category to finds and download many of the example projects from my book, 3D Printing for Model Engineers, to be published early in 2018.
Since the release of the first commercially available 3D printer in 2009, a thriving consumer market has developed, with a huge variety of kits now available for the home constructor. In their short existence, these printers have developed into capable machines able to make robust and useful objects in a wide range of materials. 3D Printing for Model Engineers - A Practical Guide provides the first truly comprehensive guide to 3D printing in the context of other creative engineering-based hobbies. It covers using 3D Computer Aided Design; 3D printing materials and best practice; joining and finishing 3D printed parts; making your own metal castings from 3D printed parts and building your own 3D printer. Filled with real world examples and applications of 3D printing, this book is based on practical experience and is the essential guide to getting the most from your 3D printer. Illustrated throughout with 446 colour images.
There are lots of inexpensive component tester modules available, easily recognised by an LCD screen, a 'test' button and a 14-pole quick-release socket.
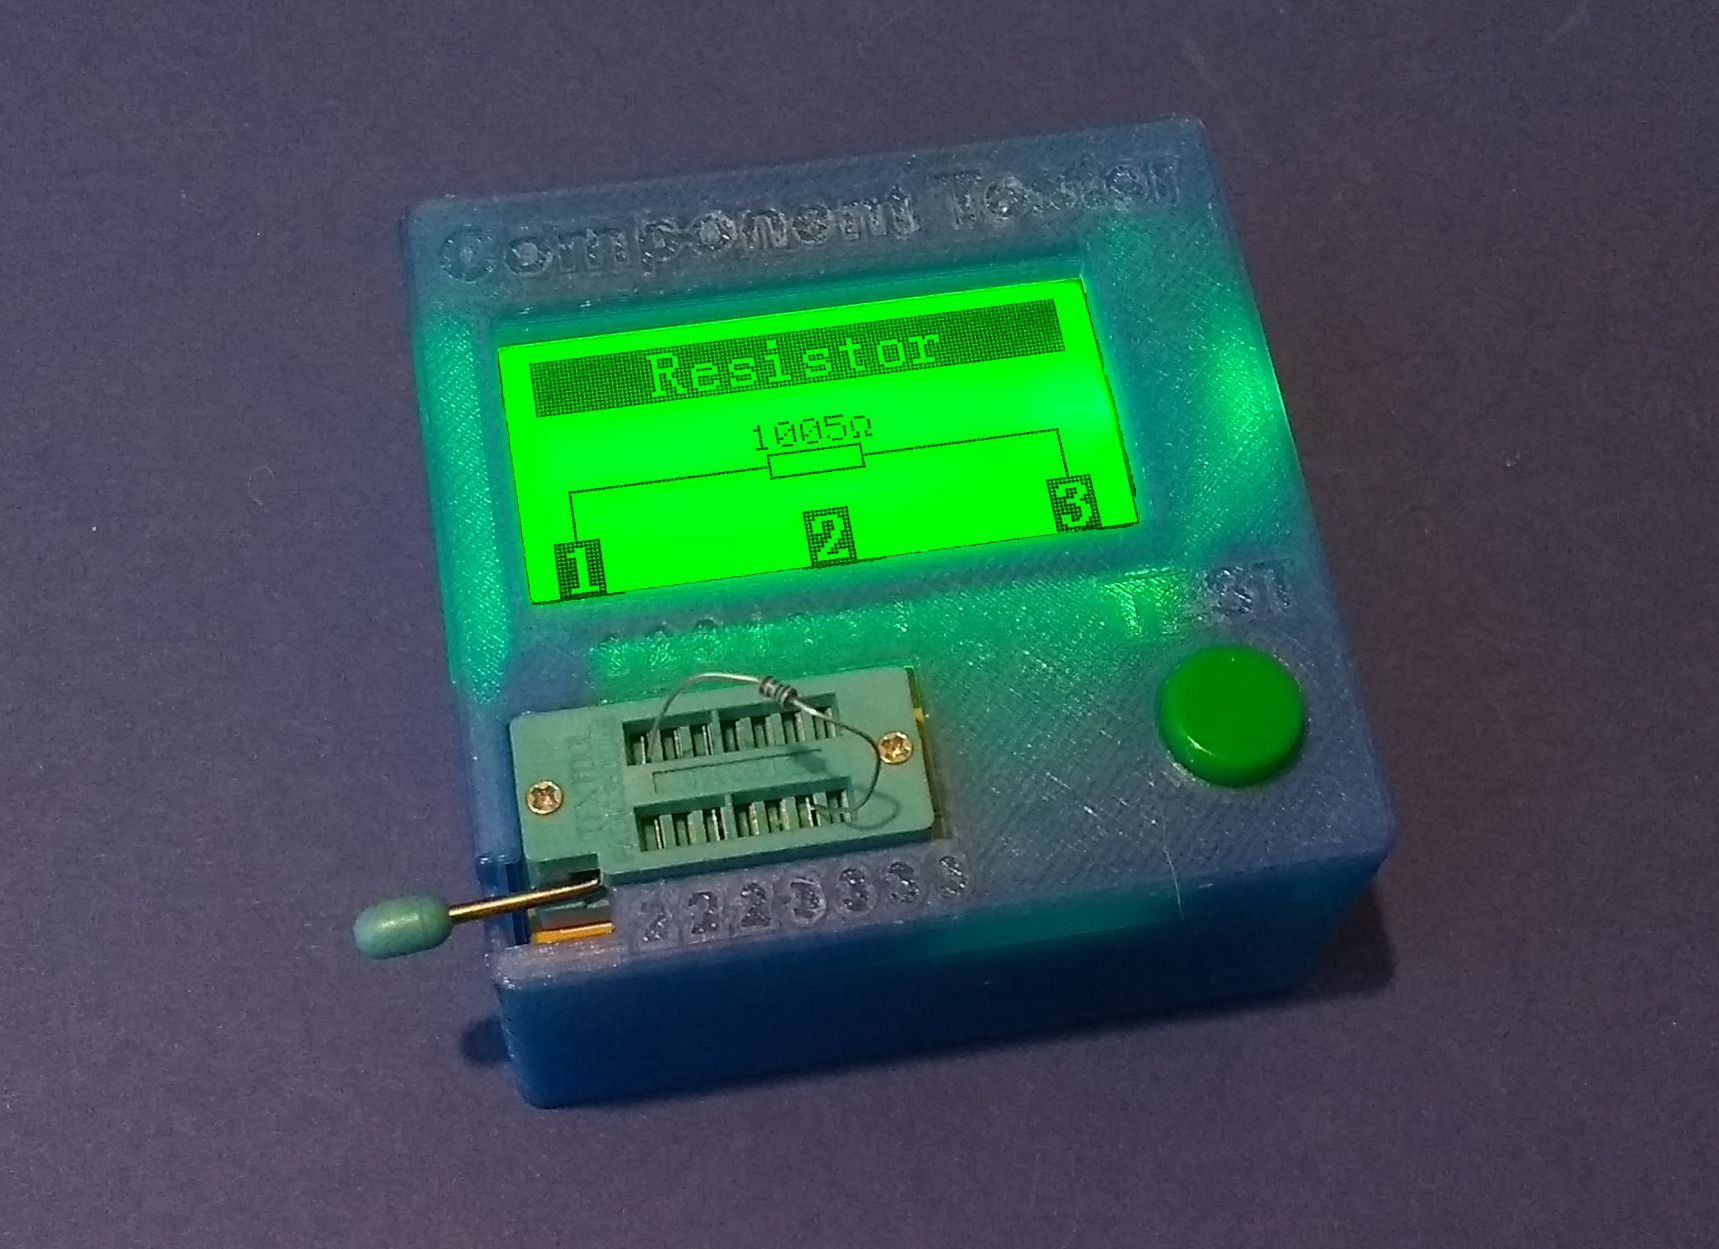 Despite being extremely cheap, these testers are great for checking all sorts of components with2 or 3 terminals, including:
- Resistors
- Capacitors
- Inductors
- Diodes
- Low voltage Zener diodes
- Bipolar Transistors
- Field Effect Transistors
They can even give details like the gate capacitance of MOSFETs and the ESR of capacitors above 2uF!
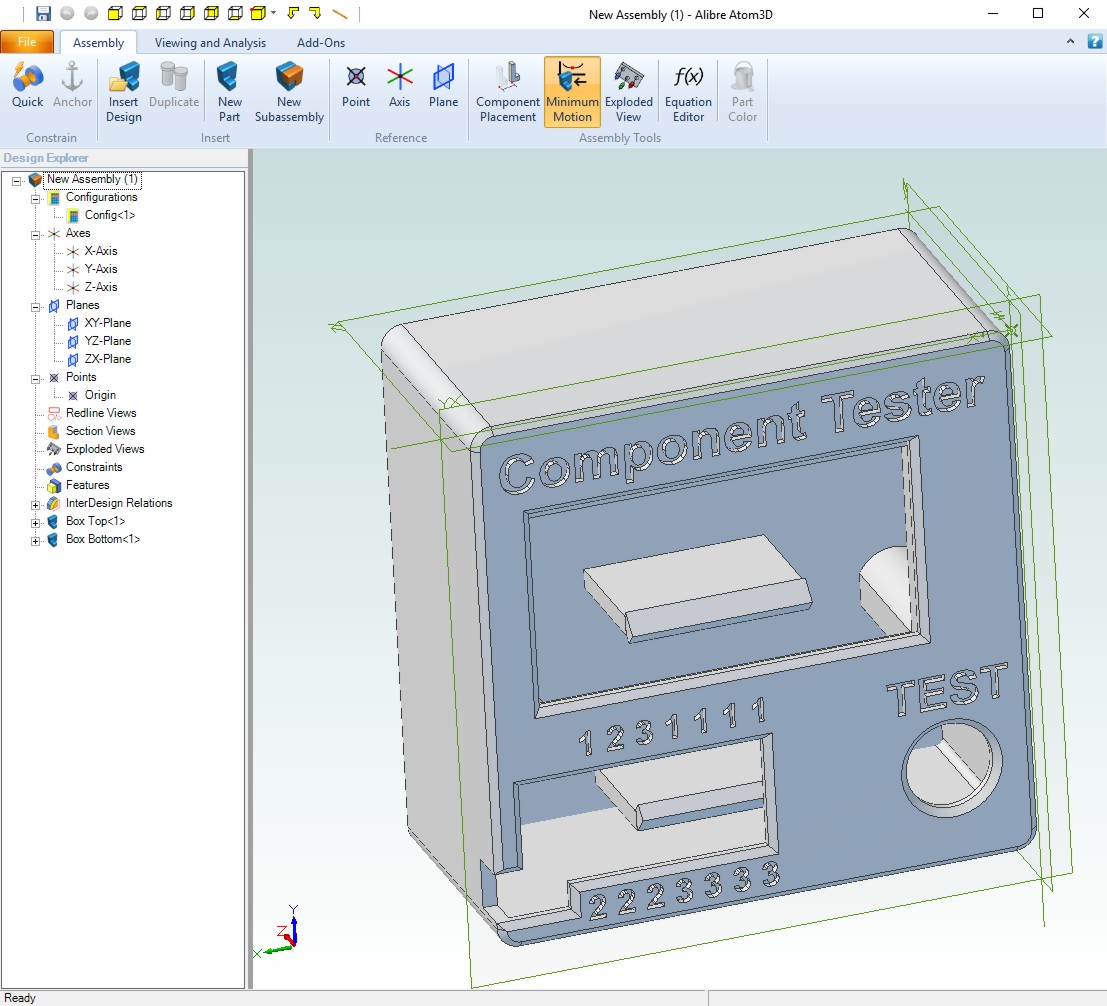
Unfortunately the bare module is a bit clumsy, but if you have a 3D printer you can use the STL files on this page to print a case that even includes a clip for an internal 9v battery! All you have to add are three M3 x 10mm long cap screws to keep the two parts together!
Download STL for the top of the box print this part face down with no support for best results.
Download STL of the base of the box with battery clip
You can purchase the Component Tester Module from Amazon, this is one of the cheaper options:
Associate links support this website.
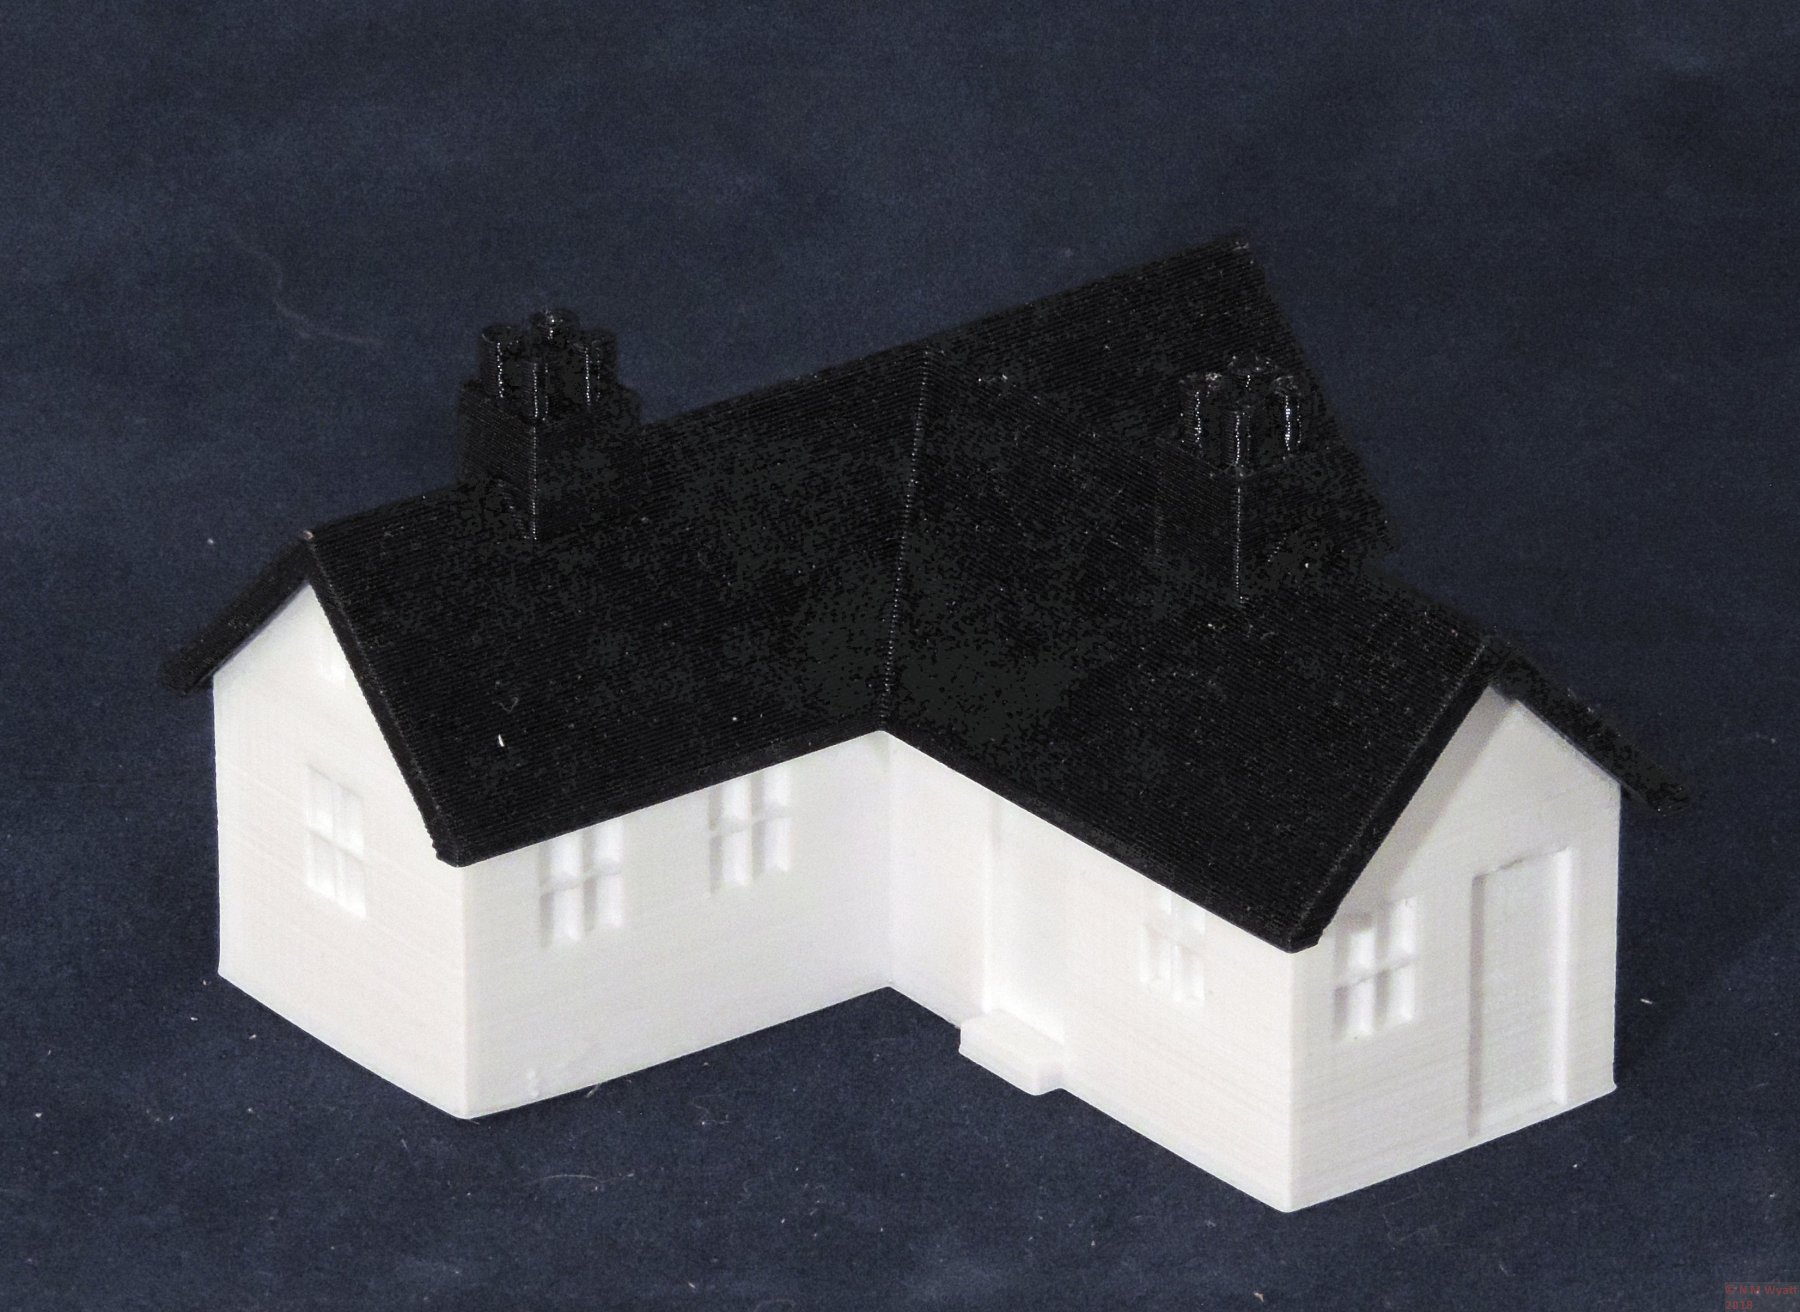
I uploaded this simple little building to Thingiverse and was astounded by its popularity!
Download the cottage roof
Download the cottage walls
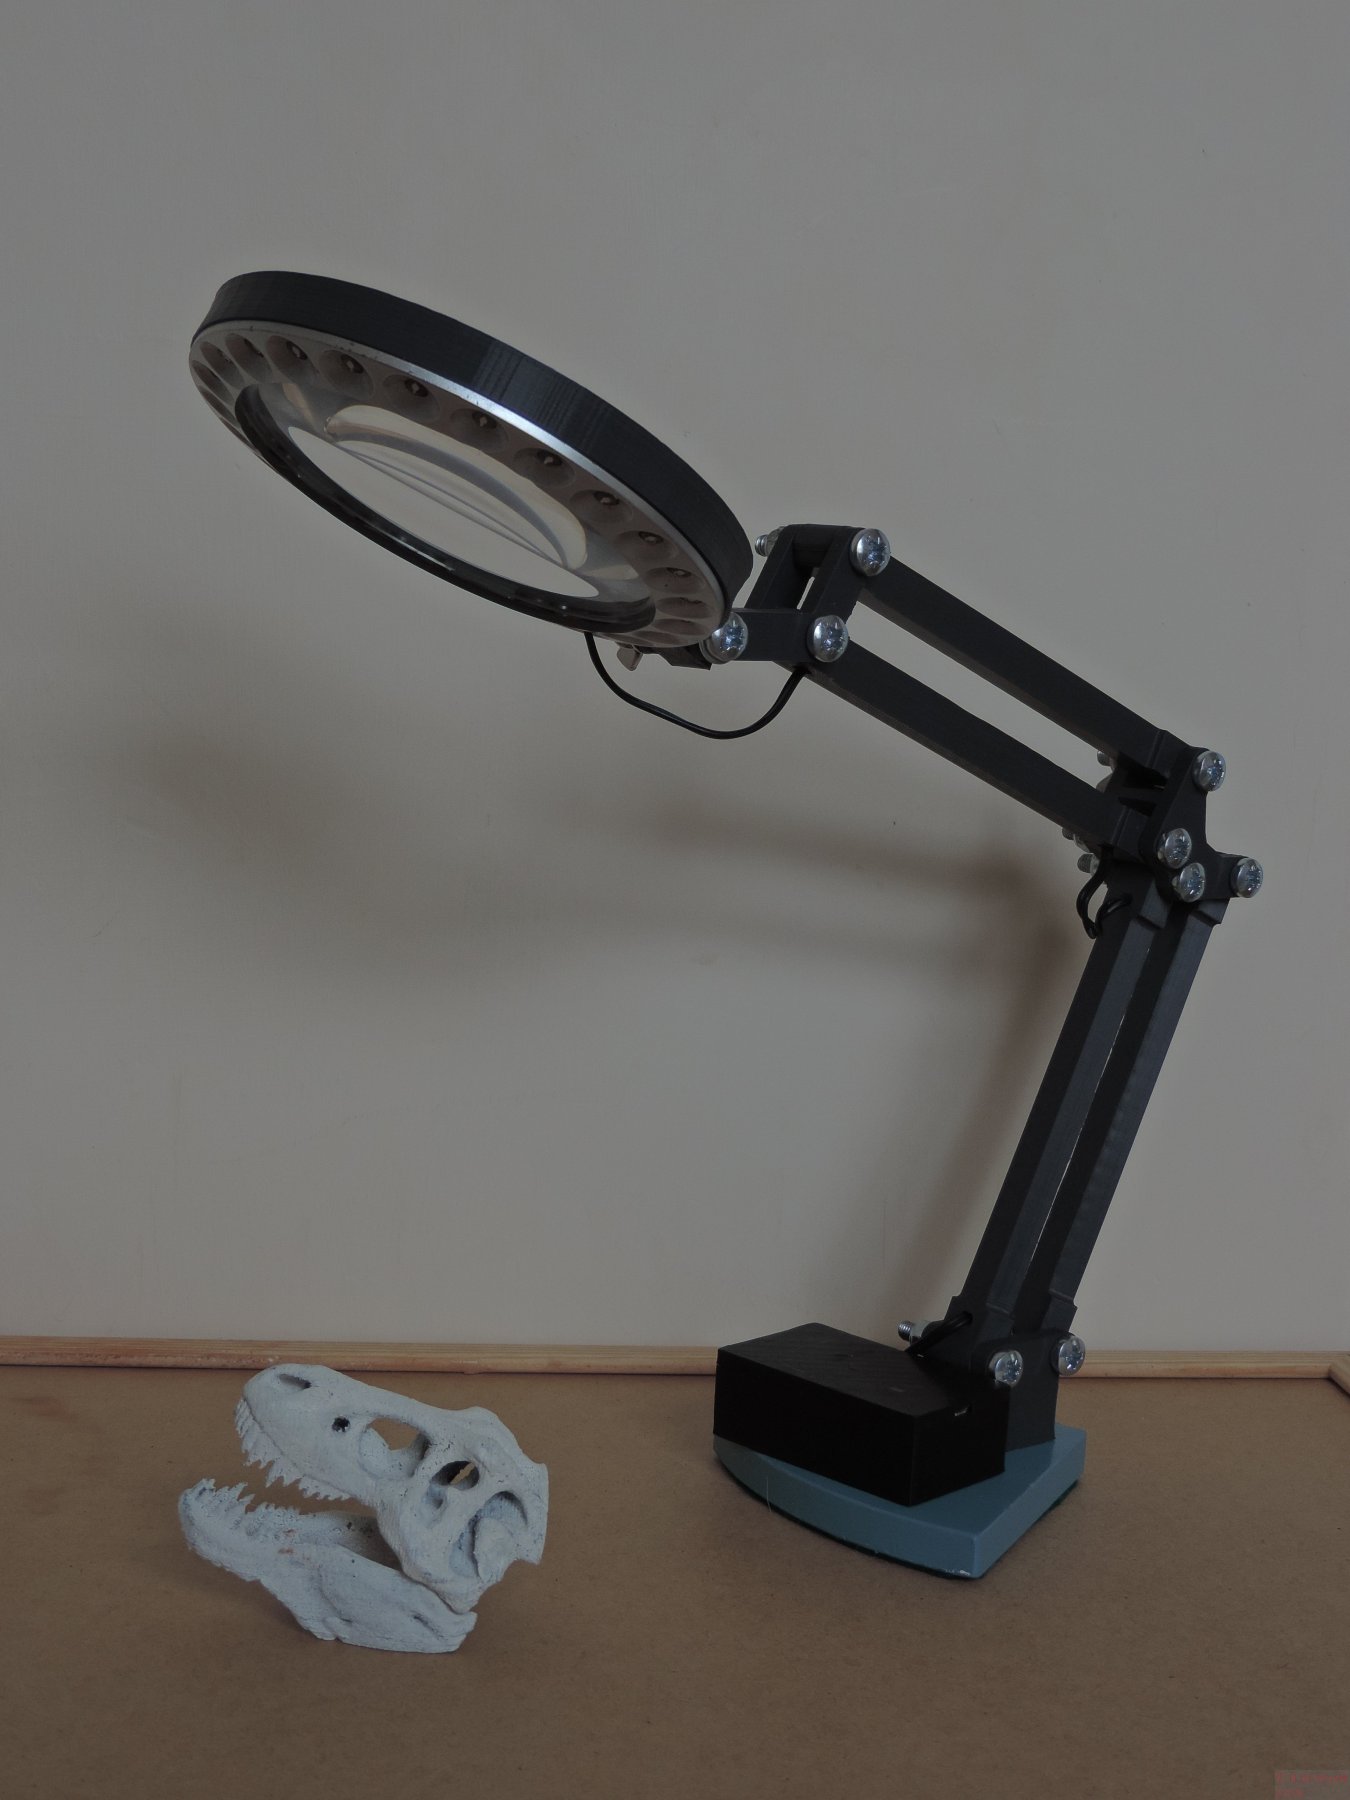
This 3D printed bench lamp has a lithium battery and charger in the base. It uses an acrylic magnifying lens from Astromedia. LED ring lights are available from a vast number of eBay and other sellers!
You will need a metal plate for the base, together with M6 screws and nuts from Screwfix or Toolstation.
Who needs Ikea?
Download the Bench Lamp Files Here
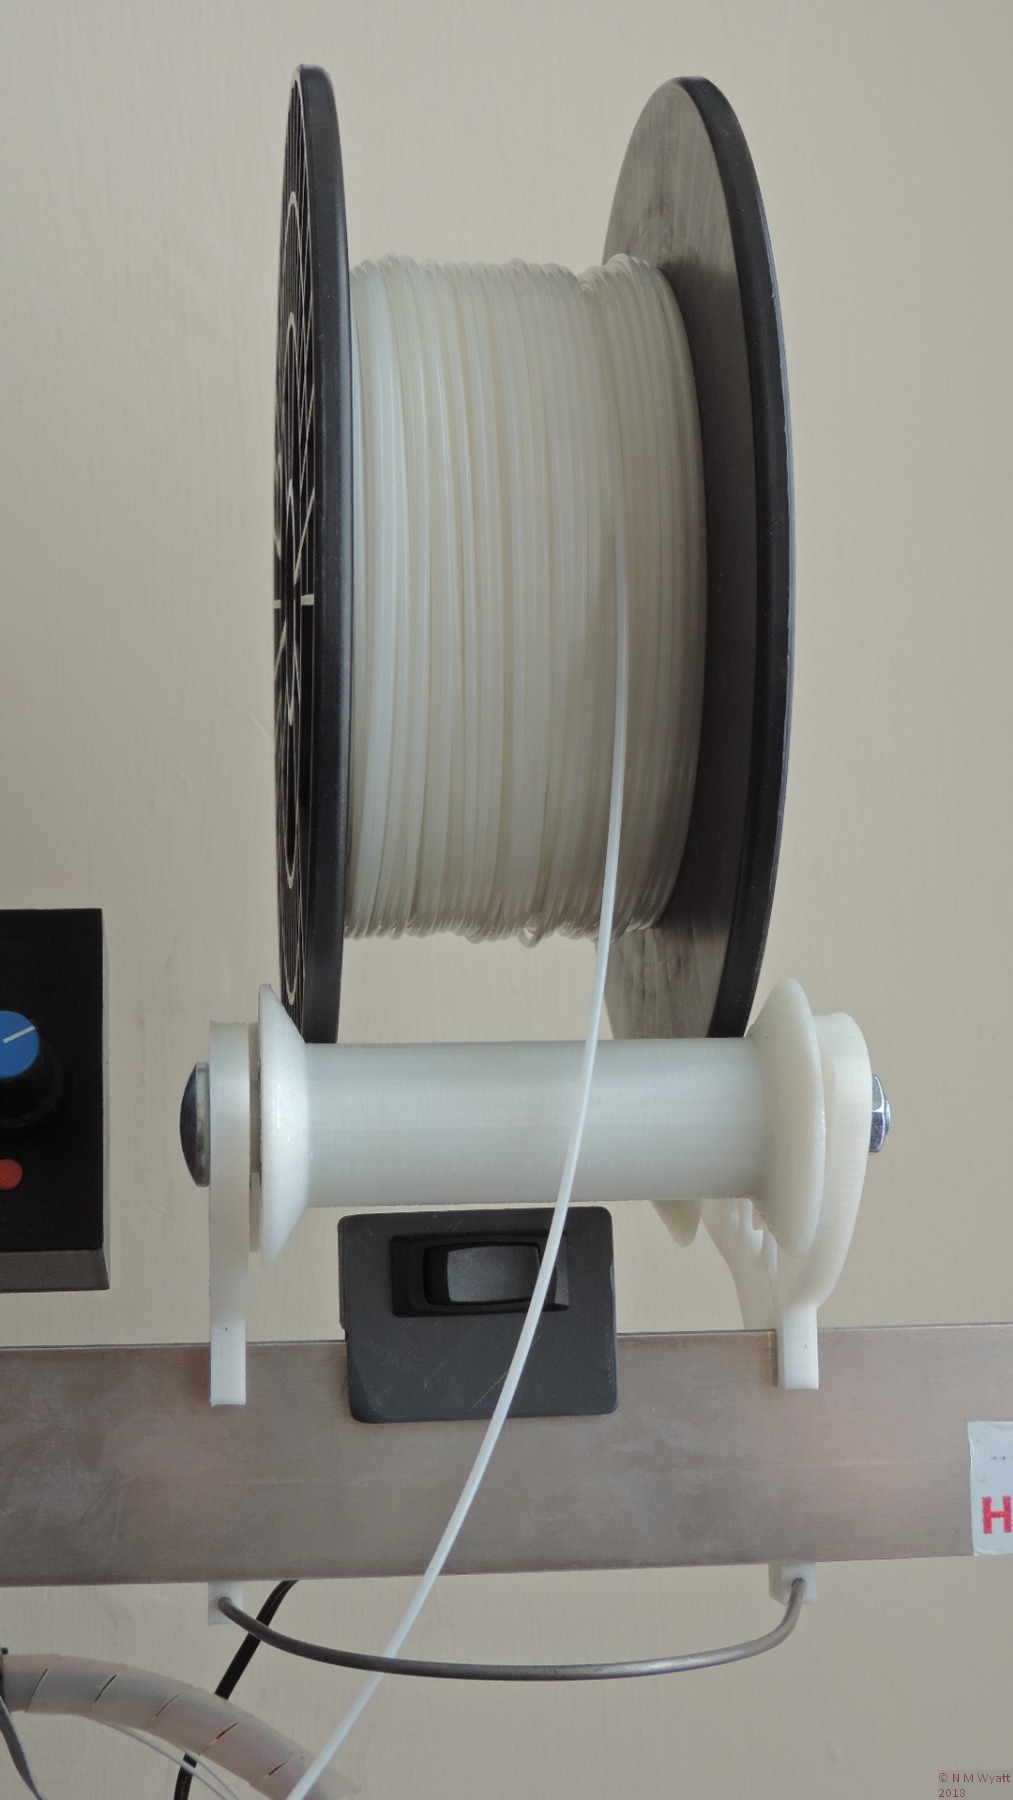
The standard Prusa i3 Spool Holder is a wonky and rather useless assembly of threaded rods joined together by a loose bar and some hope.
This alternative holder is better than most as it only has four 3D printed parts, two side cheeks and two rollers. It uses four cheap 608 skate bearings, two in each roller - these should be pressed in using a vice. The spindles for the rollers are a pair of 110mm long M8 coach bolts and nuts (try B&Q). Print the rollers on their small ends and make sure the bottom bearing sockets are clean of loose filament.
Fits are deliberately tight (tap in) to give a good, rigid, assembley, but those who don't like things too tight can increase sizes by 1-2% in X and Y. Don't overtighten the screws or the rollers will be too stiff.
Sizes suit a Factory 3D Prusa with a 6mm thick frame, but just stretch the clips to suit your printer. Holes in the bottom of the clips can be used to take a loop bent out of a TIG welding rod, but experience shows this is unlikely to be necessary.
A standard Skywatcher 9x50 finder scope is often a popular and successful choice for a guide scope, used with a suitable camera. But the standard finderscope bracket is a bit flimsy and the scope to T-mount adaptors are a bit pricey!
As an alternative, here are two STL files. One is for a robust mounting bracket with a standard Vixen/Skywatcher dovetail to suite any scope with a barrel about 50mm or so in diameter. Use it with six Nylon M6 screws.
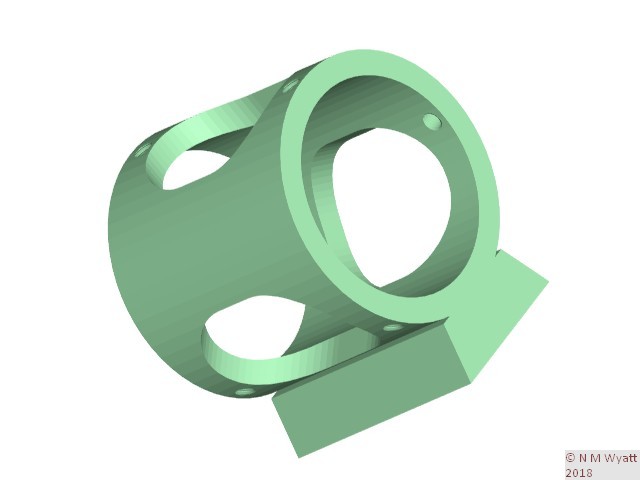
The other is a T-mount adaptor that fits the internal thread left when the eyepiece fo a Skywatcher 9x50 finderscope is unscrewed. It does not suit Celestron finderscopes which apparently have a 1mm pitch thread.
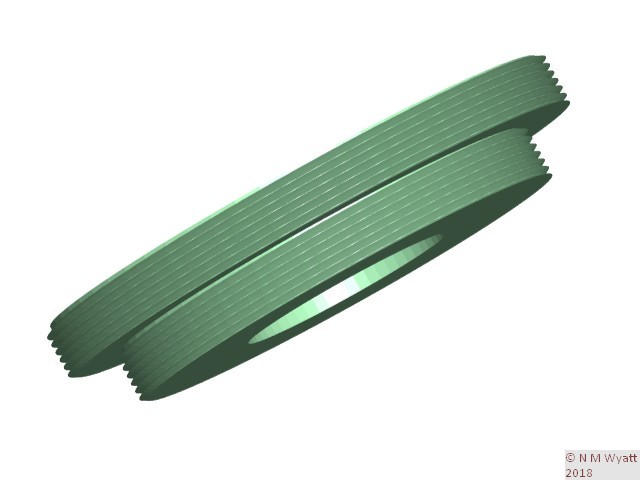
It should allow any t-mount fit astro camera such as a ZWO to be brought to focus by adjusting the front lens.
Print the parts large end down. I suggest 1.2mm wall thickness and 25% fill. the threaded adaptor will benefit from 0.06mm layers if your printer can do them.
Take care when first threading the adaptor, it may be a little stiff at first, especially if your printer over-extrudes, and take care not to cross-thread it.
Use these links to download the STL files:

