Lunokhod 1 and 2 were a pair of exceptionally successful robotic moon rovers that the Soviet Union sent to the moon in 1970 and 1973. Owing to the politics of the time this remarkable achievement went largely unnoticed in the west.
The eight-wheeled rovers were about the size of a small car, and in fact they were intended to act as safety/escape vehicles to support manned lunar expeditions.
Lunokhod '0' was destroyed when its launch vehicle exploded in 1969, but Lunokhod's 1 and 2 were successful. Lunokhod 3 was never launched and is on display in the Lavochin Museum.
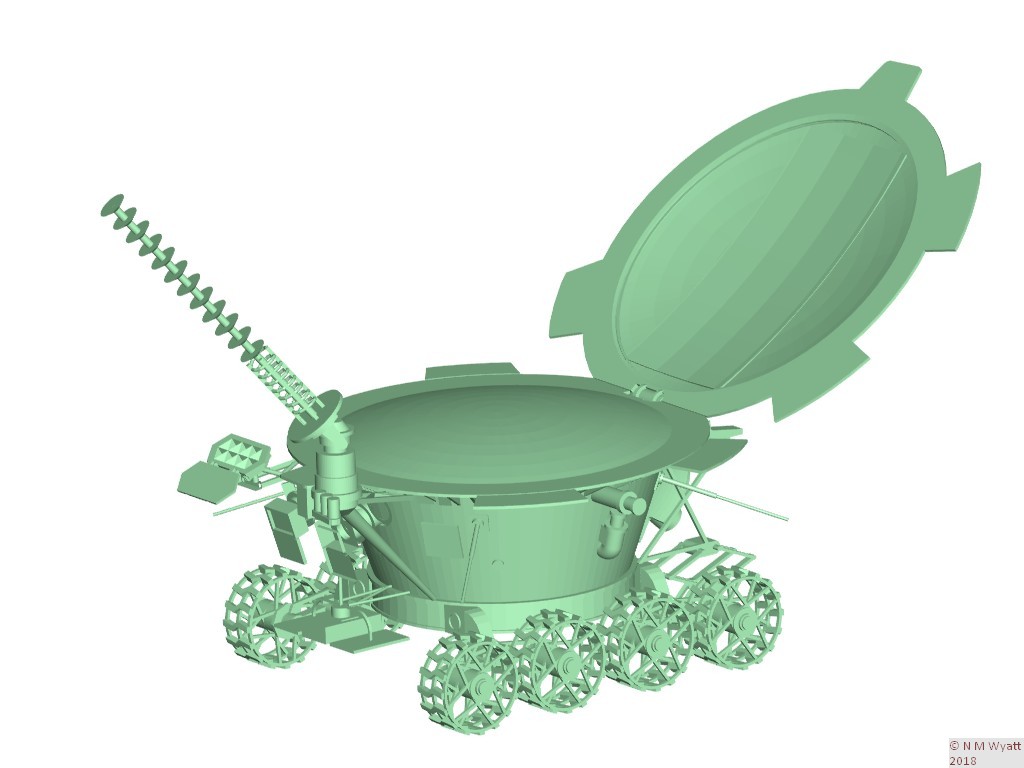
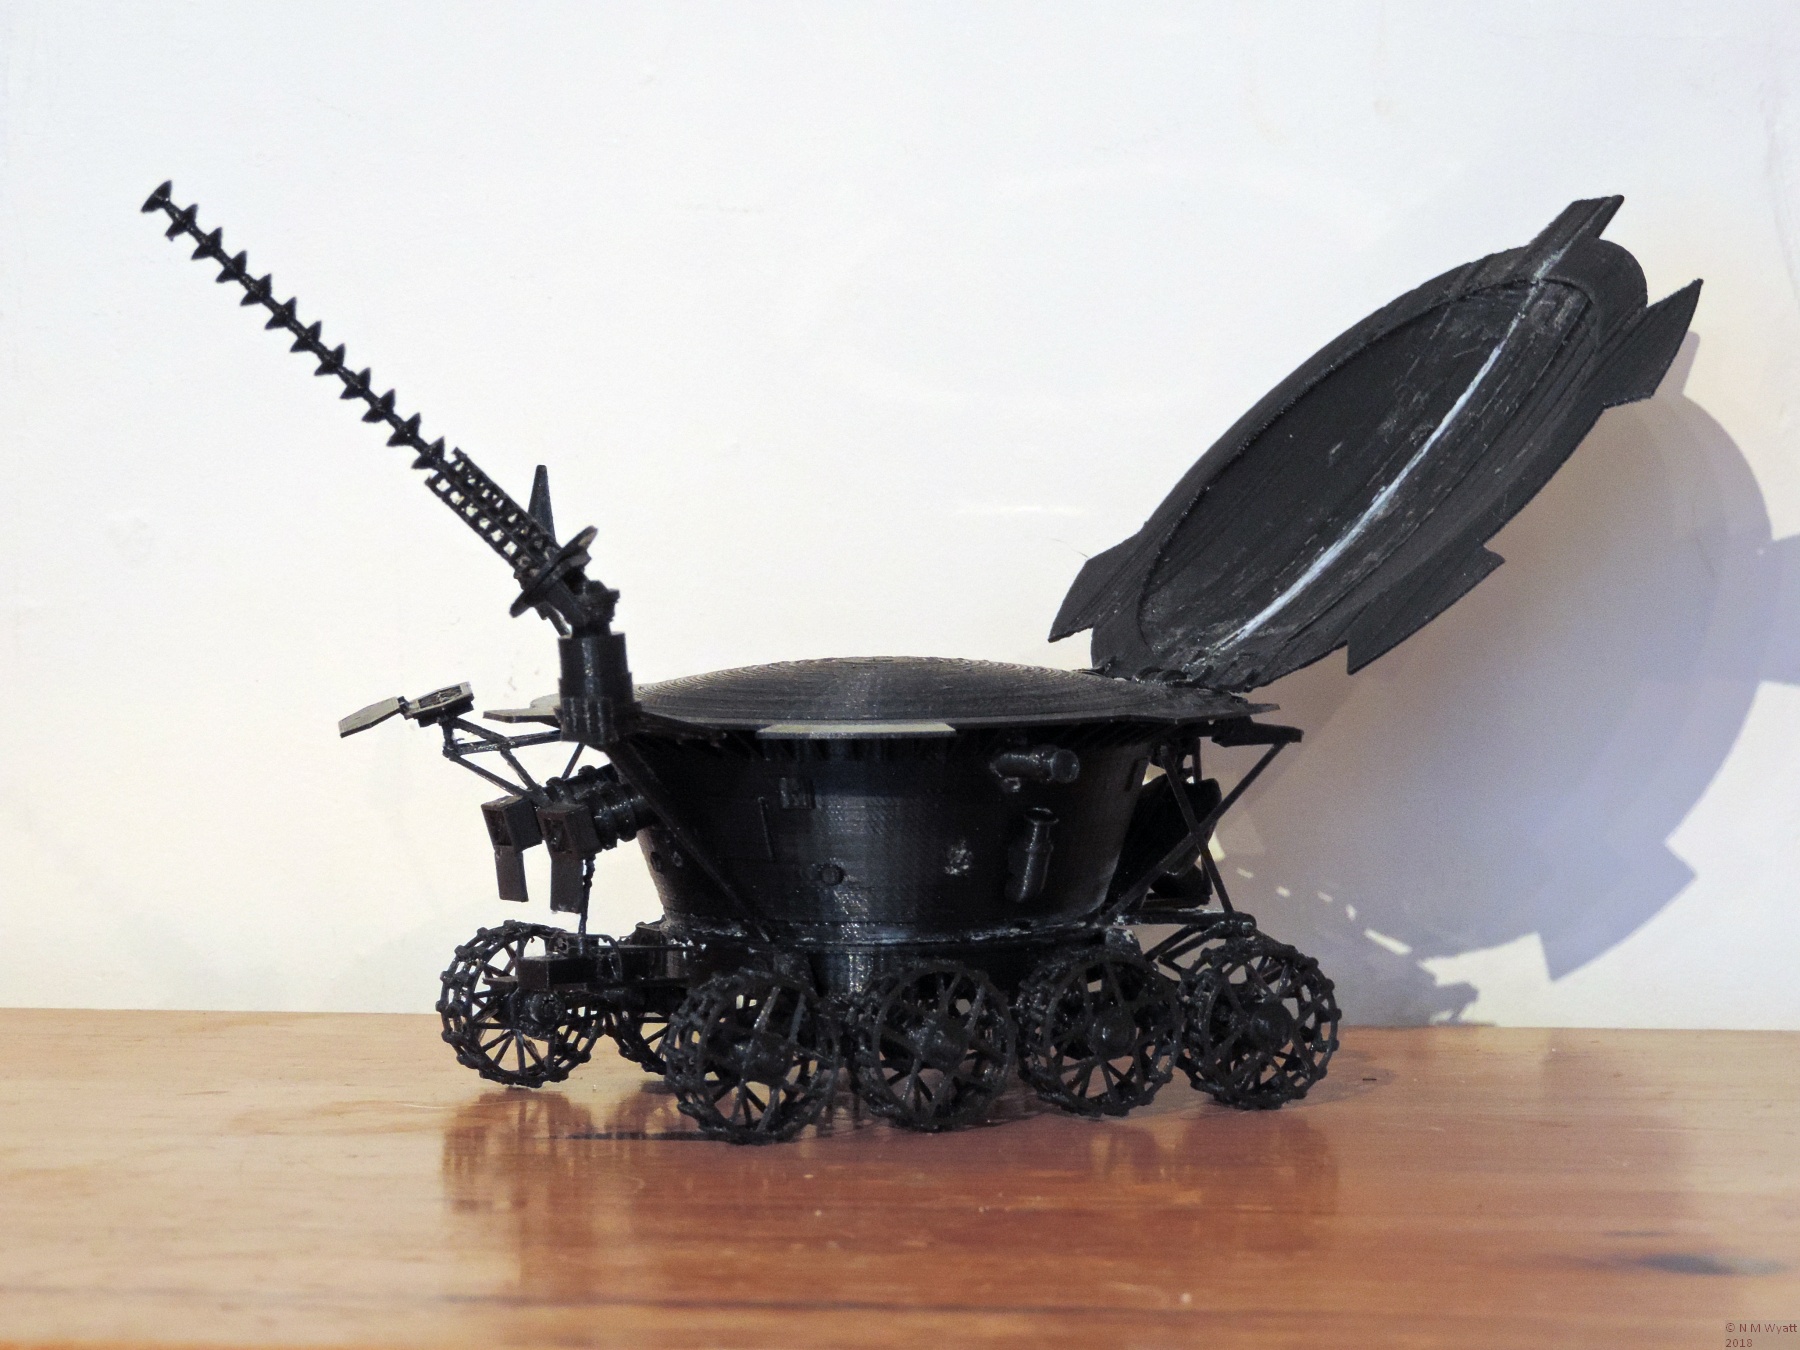
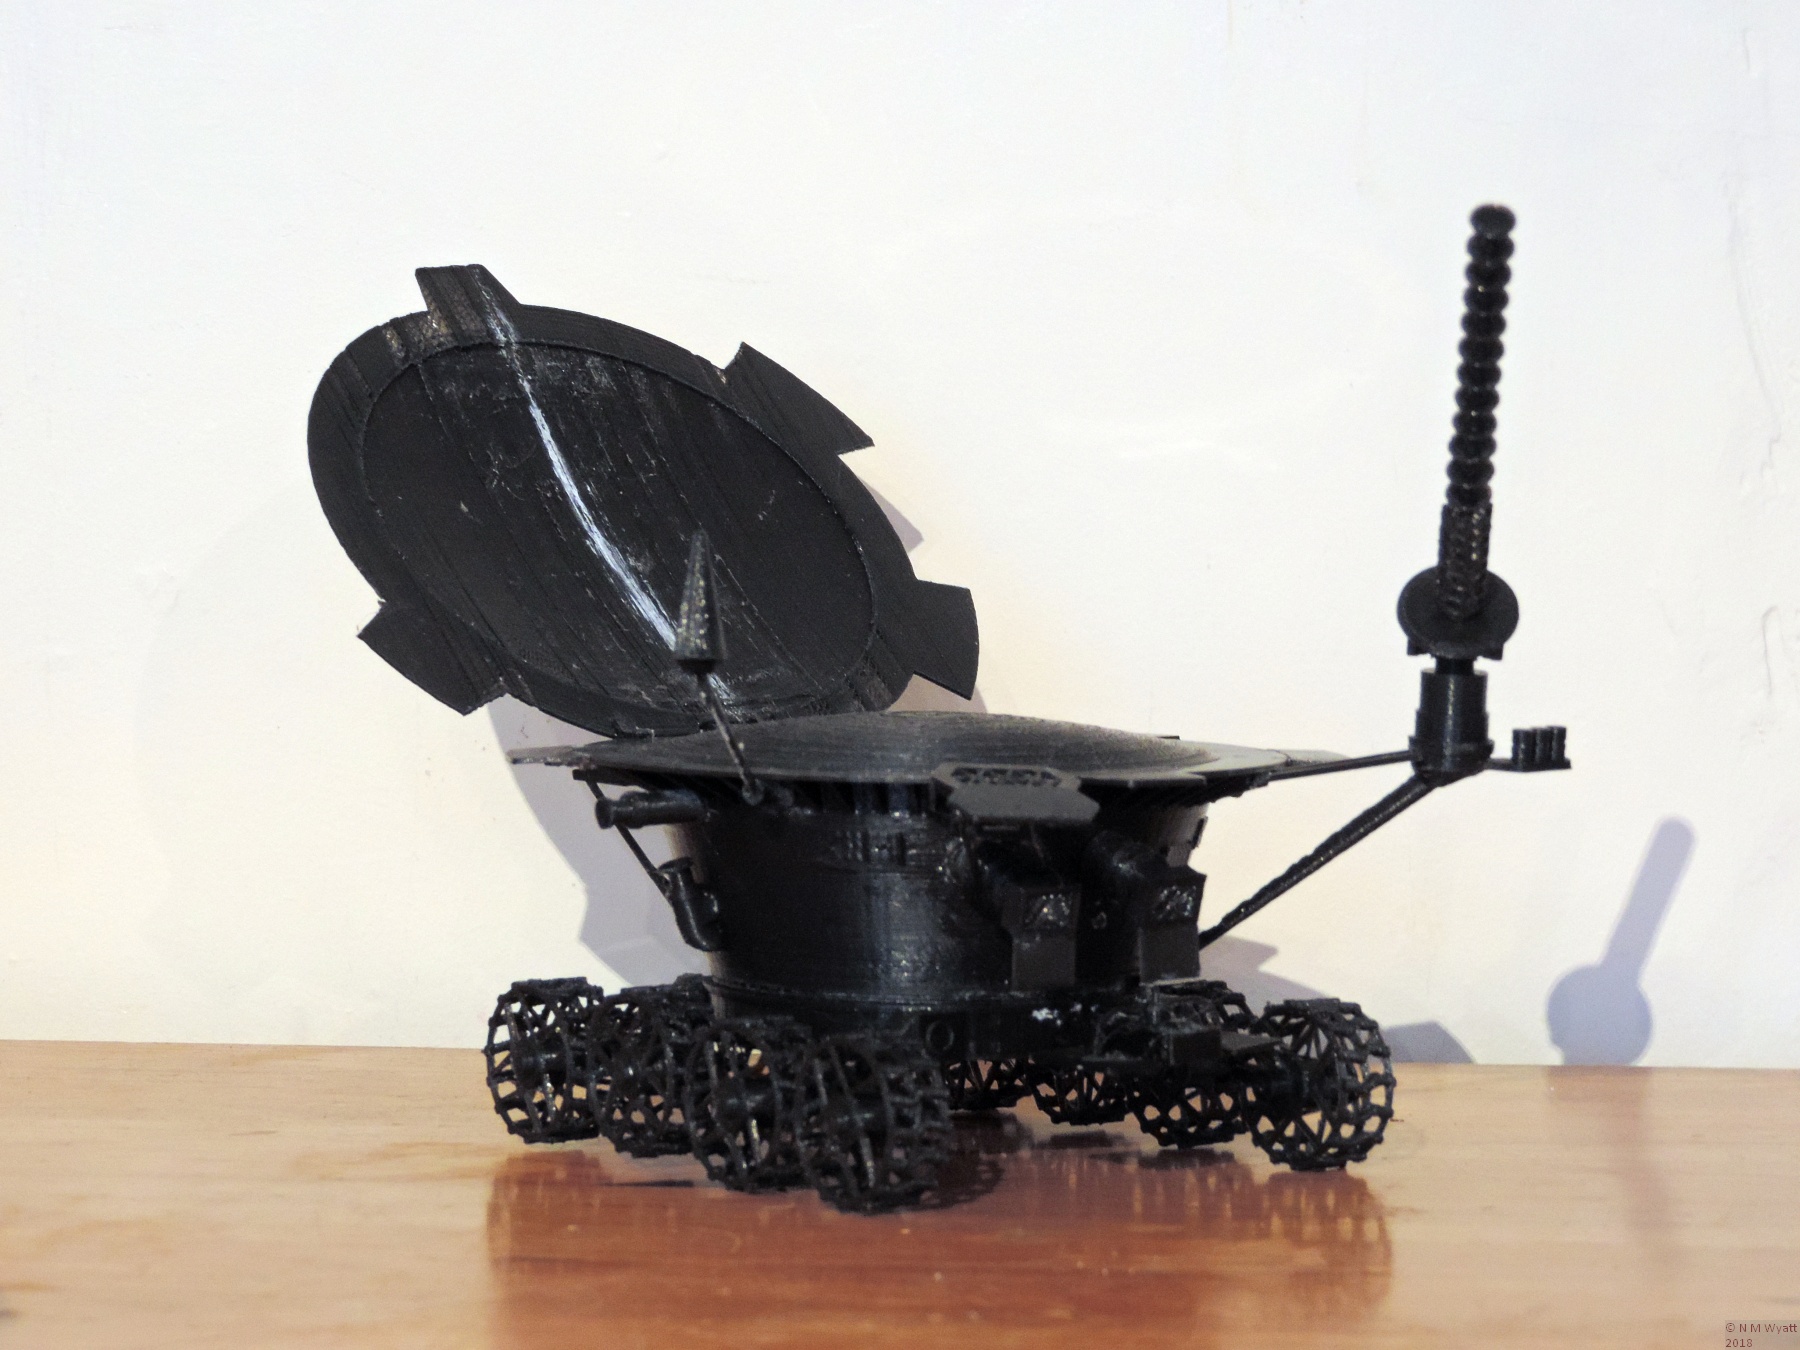
I had a fascination with the Lunokhod program as a youngster, fuelled by the almost complete lack of information about the missions. When I got a 3D printer I discovered that no-one appears to have made one before, although there are some excellent conventional models. So I put that right and made my own Lunokhod 1.
A 3D printed Lunokhod
You can download STL files to print your own Lunokod using the link at the bottom of this page.
My model is based on the exceptionally useful plans at spacemodels.nuxit.net/lunokhod and I fully acknowledge Vincent Meens as my main source for dimensional and constructional information on the Lunokhod. That said, the pdf files on his website were unsuitable for making a 3D digital model, so I redrew the rover entirely in TurboCAD from scratch. I have modelled Lunokhod 1, as I was becoming stir crazy and did not have the patience to add all of the extra accessories for Lunokhod 2.
I have not yet finished painting Lunokhod, I will add a photo when the job is complete.
A note on the STL files.
I hate the poor quality STLs on many 3D sharing sites that are impossible to print. All of the STLs in this zip folder have been printed at actual size (dimensions in millimetres) WITHOUT SUPPORTS. That said, many of the parts are not in an optimal orientation for printing and will need to be arranged to suit your printer.
The exceptions are:
- The low gain antennae. these are just too thin to print, I suggest you use four bits of wire.
- The lid, which needs to be rpinted as two halves on tehir sides, and glued together - you can see the seam in the photos.
- The model of Lunokhod as a whole, this is just to give you a guide as to how it should look.
You WILL need to be careful and creative in the use of cyanoacrylate glue to put everything together. I have NOT included assembly instructions, reference to Vincent Meen's drawings, photos of Lunokhod 3 and the STL of the assembled Lunokhod should be enough to guide you in assembling the model.

My basic print settings were PLA, 0.14mm layers, 0.56mm top and bottom layers, 25% fill and 0.8mm skin width (0.4mm nozzle). The printer was my Prusa i3 made from a Factory3D kit, these are UK made and rather better than the stock acrylic frame kits and cost about 50% more.
STL Files for Printing Your Own Lunokhod

Lunokhod 1 3D by Neil Wyatt / Stub Mandrel is licensed under a Creative Commons Attribution-ShareAlike 4.0 International License.


