If you find this website useful, please check out my books or visit my Amazon Author page. Or even Buy Me a Coffee!
Astronomy
Astrophotography
You are never too old to learn, and one of the thing that has opened my eyes has been discovering the quality of astronomical images that can be produced by amateurs with very modest equipment. By using digital cameras and image processing software it's a realistic ambition to produce images that compare favourably with those produced by the world's biggest telescopes fifty years ago - right in your back yard!
This website does not showcase the best astronomical pictures on the internet! It's a selection of pictures I have taken myself with basic equipment and free software. Producing images like these below, or even better ones, is within your reach!
Most importantly, you don't have to spend a fortune. My first serious scope, mount and tripod cost £180 on Ebay. I spent £40 on a more solid tripod, and about £200 on various bits and pieces including books and an ancient Canon EOS DSLR and a seconhand Microsoft HD Webcam. The results shown before are some of my best so far, and will be updated from time to time.
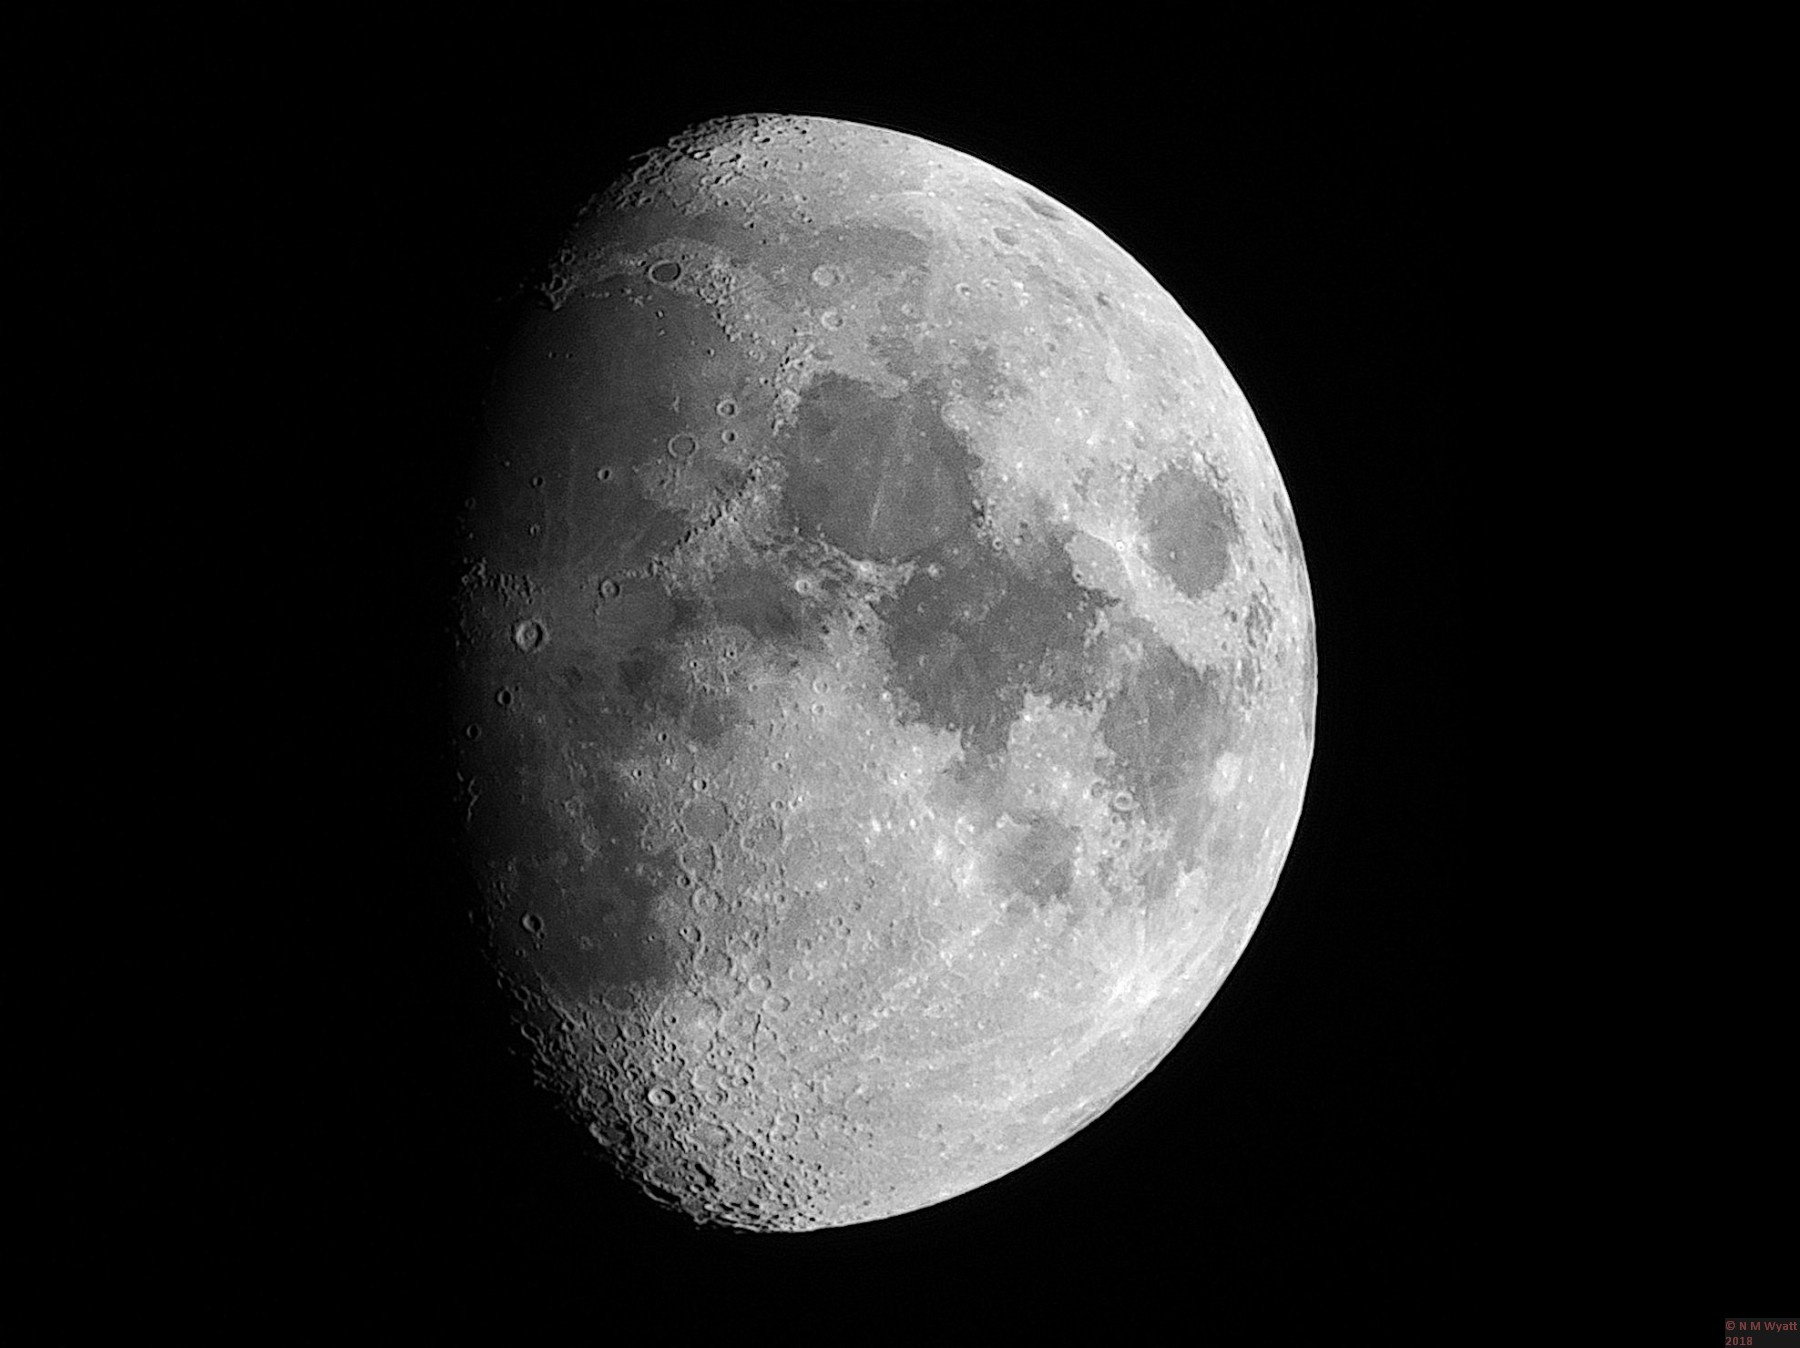
Perhaps the easiest target in the sky is the moon. You can get good pictures with any long or zoom lens, this is a 'stack' of six pictures taken with an ordinary bridge camera:
A gibbous moon photographed on the isle of Skye.
Follow the links below for introductions to some of the other things you can image in the night sky:
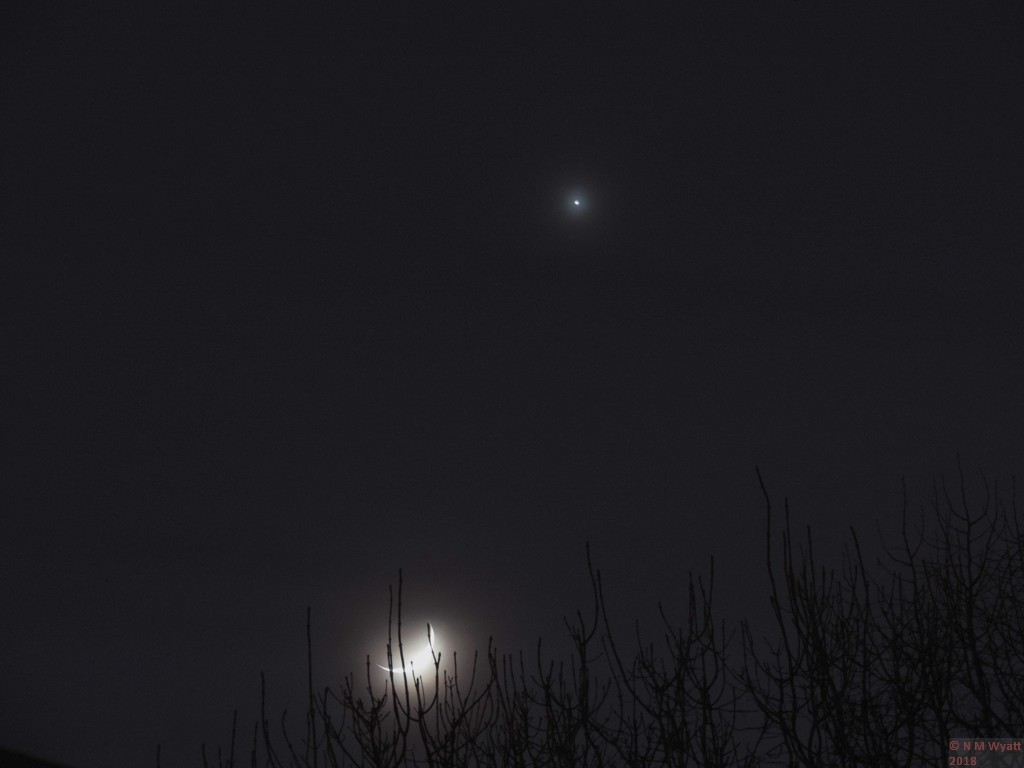
A Conjunction of Moon and Venus
Occultation is not coming over to the 'dark side' or black magic! It's the passing of one body in front of another, so a solar eclipse can also be described as occultation of the sun by the moon.
Although there are about 3,000 stars visible to the naked eye, the moon is so bright that when it approaches a star it, the star becomes invisible to the unaided eye, especially when they approach the bright side of the moon. Occultations of bright stars and planets by the moon are more common that eclipses, but still not as common as you might expect as the moon only covers a very narrow path through the sky. Sometimes a series of occultations can occur, hovever, such as the moon making multiple passes in front of Saturn a few years ago.
With a camera it's possible to capture the moments before the moon occults an object, although it is usually necessary to do some processing to the image if the object is a relatively dim one. The picture below shows delta Gemini - the star on the knee of the left had twin - a few minutes before it was occulted on 8 September 2015. The total length of the event depends on how close to the centre line of the moon the occulted object is, in this case it was very near and the event lasted over an hour before the star would reappear. Something I would like to achieve is having a telescope pointed on the dark edge of the moon ready to see the star reappear.
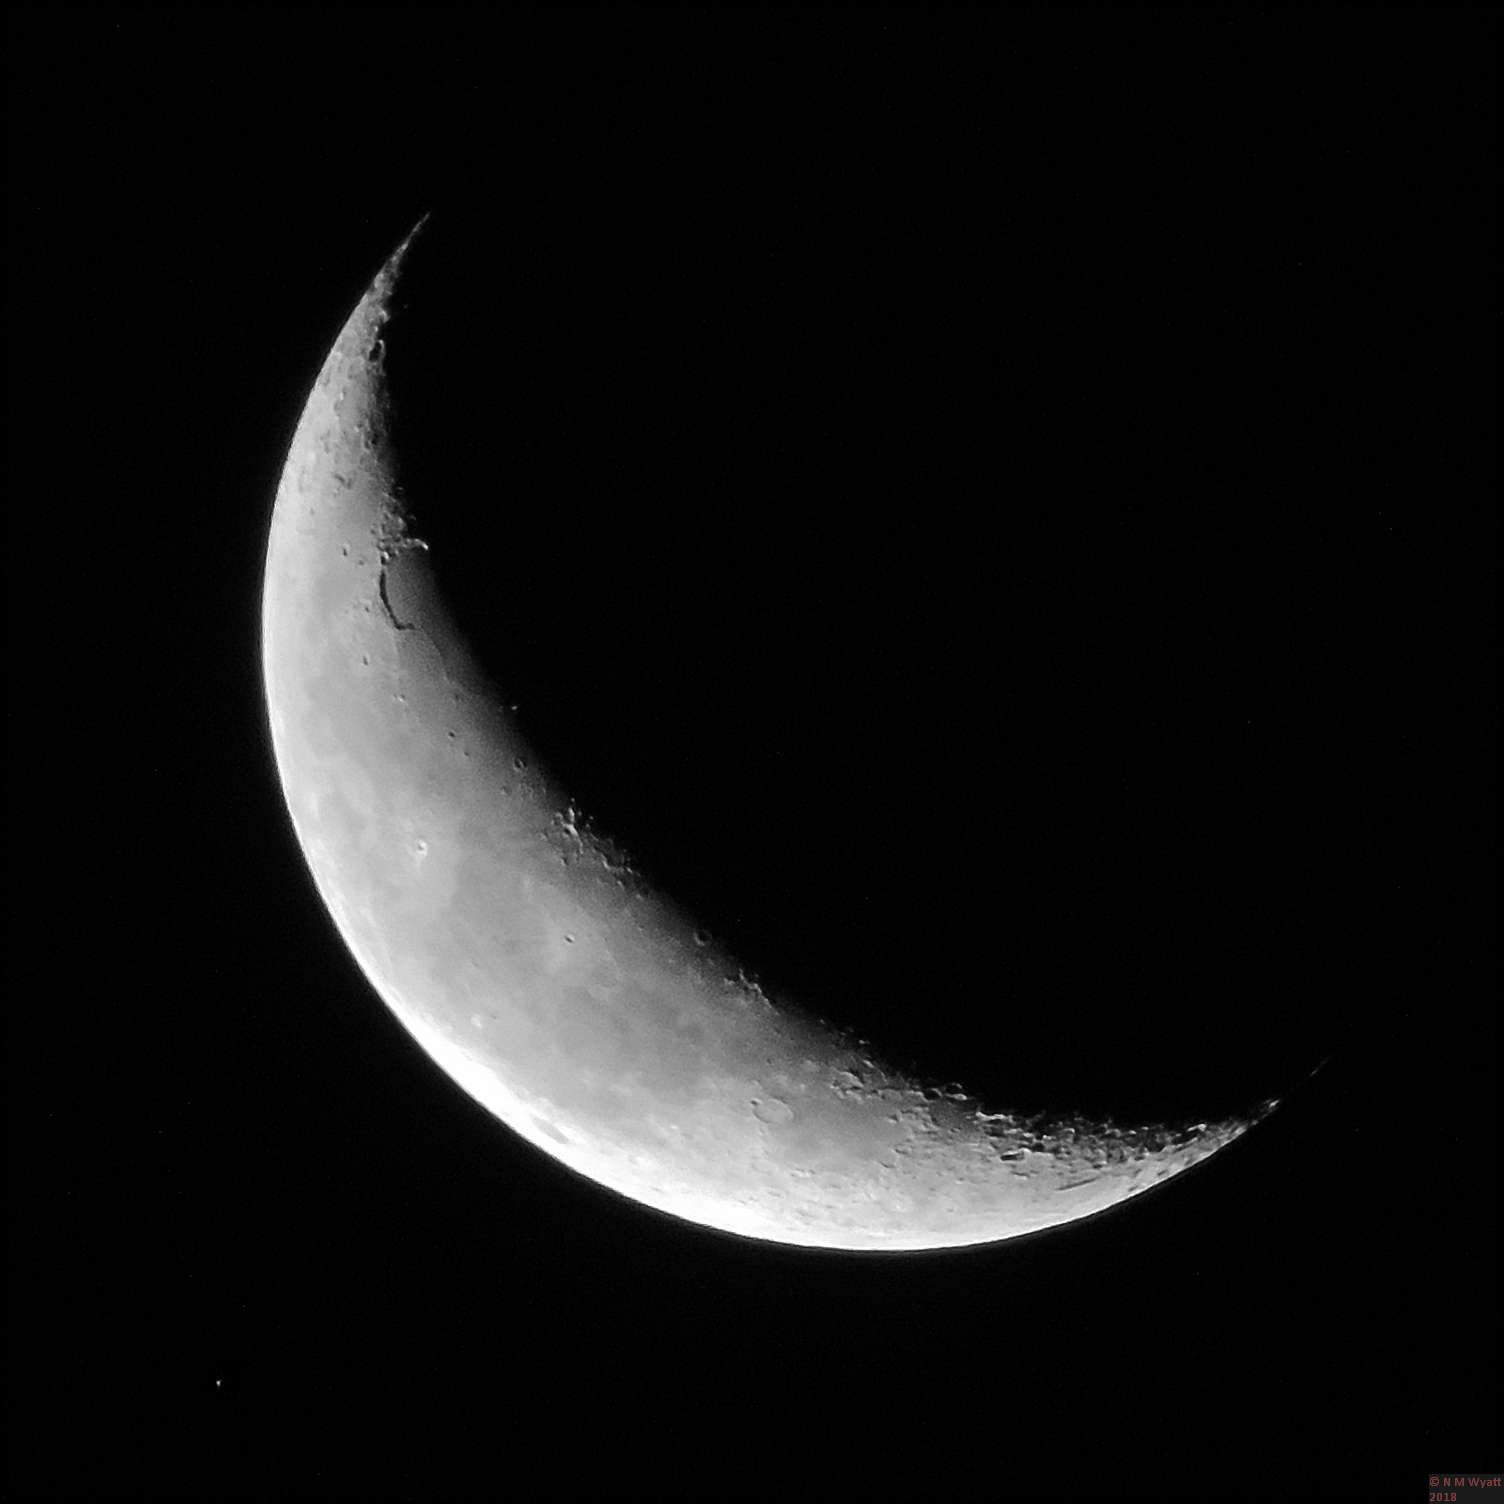
The moon, soon to occult the star Delta Gemini
- Details
- Category: Astrophotography
I found an old 50mm x 350mm refractor with half decent coated lenses and a RACI prism, which seemed ideal for using as a finderscope, but it had no eyepiece. Searching the web, it seems that long focal length (about 40mm) 0.965" eyepieces are as rare as hen's teeth, so what to do?
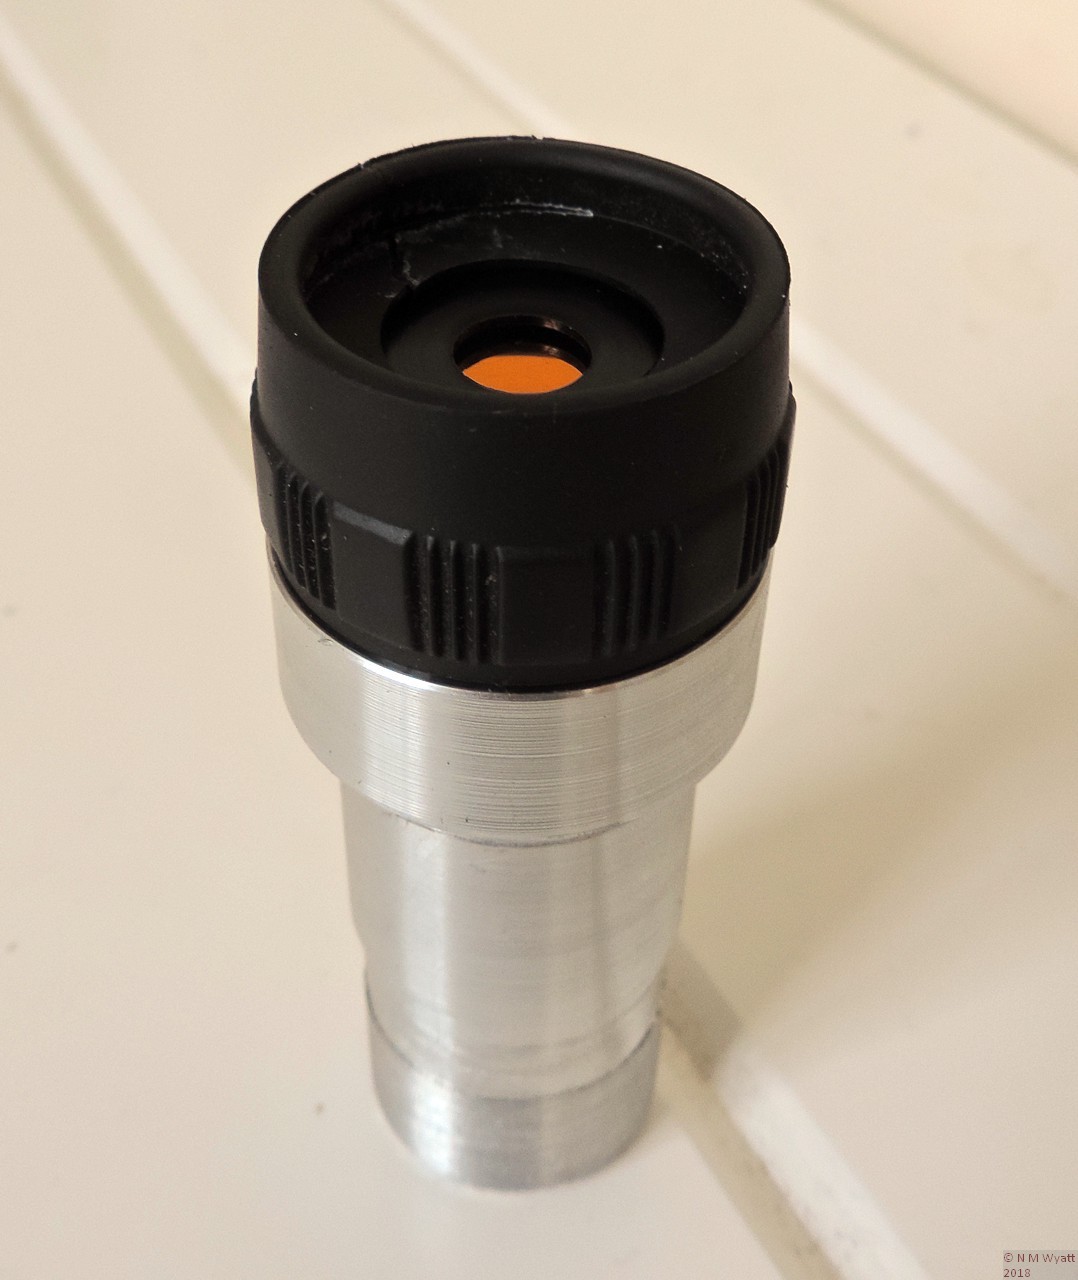
I made a 40mm eyepiece out of two 25mm doublet binocular objectives with a focal length of about 100mm. This is how.
The lenses were a close fit inside some 1 1/4" aluminium tube with a ~1" bore. I cut a length off the end of an old 1 1/16" bicycle seat pillar and turned one end down to 0.965" for about an inch, this fits in the prism tube. I turned the rest to a good fit in the 1 1/4" tube, then parted off two washers, one ~2/16" thick and one about 1/16" thick. The thicker washer was used as a spacer between the lenses with their most convex sides facing each other. Projecting an image of a distant subject on a wall showed the focal length to be more or less 40mm (I was going to use one lens until Wikipedia revealed to me how plossl lenses are made).
I then shortened the main tube so with the lenses at the top the focal point would be about 15mm in from the end. I checked it all worked with the scope. I now made a neat housing for the lenses from the larger tube and superglued the thin washer at one end. I could now load it with lens, spacer and another lens and do a quick check by sliding this onto the main tube. All OK, so make sure lenses are spotless and glue the lens holder onto the main tube.
I turned down the end of the holder so it had two steps to suit the binocular rubber cup, but the hole was far to big for the exit pupil. I drilled a hole in some acetal rod, recessed one end for the curve in the lens and made it a close fit in the thin retaining washer. it popped in snugly and the bino cup holds it in place.
The home-made eyepiece
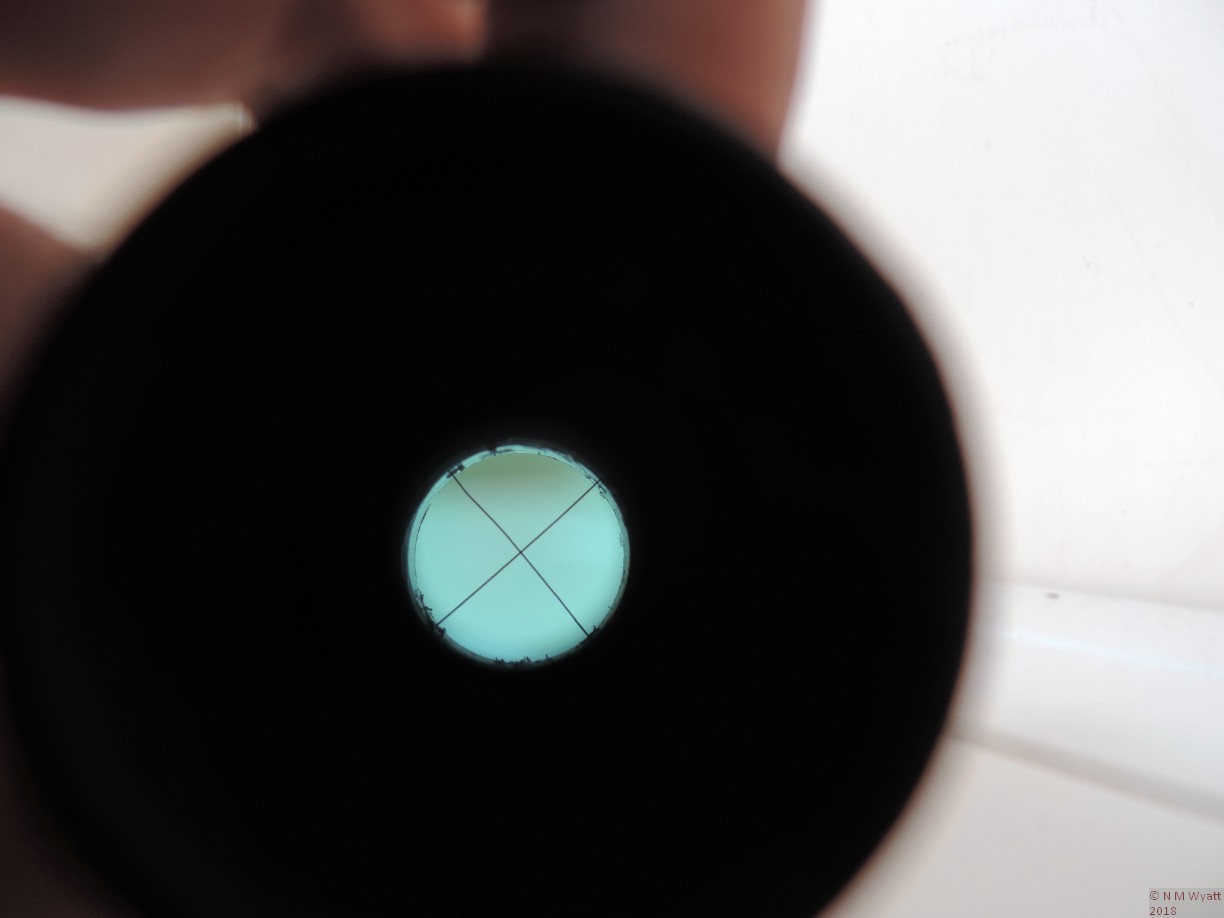
To finish, I turned another bit of acetal about 1/2" long with a 1/2" hole in it, a groove around the outside and four number 60 holes (~1mm) equally spaced around the groove in two slightly offset pairs for cross-hairs. First try with some fine wire was no good - they looked like steel bars! I extracted some fine wire from some very thin flex, flattened it by rolling between two flat surfaces and use this to make the cross hairs. The ends of each wire were twisted together and superglued into the groove.
I focused on a distant object and by trial and error moved the crosshair holder up the tube to the right position. Run a drop of superglue around the holder and - bingo!
The cross hairs, made from fine wire.
I don't claim this is a good eyepiece, although as a 'spotting scope' the result is pretty impressive - it seems to give a crisper, brighter image than my existing finder scopes - but its field of view is rather poor for a finderscope. It seems it will be a handy bird spotting scope.
The main thing is, I've learnt a lot about eyepieces very quickly and it will be fun to use one I've made myself.
- Details
- Category: Astrophotography
When I upgraded my tripod to a stainless-steel EQ5 one, I was left with a Skywatcher NEQ3 tripod with no mount to fit on it. I also had a smaller 'EQ2-ish' tripod for my 7omm Bresser refractor that was not particularly rigid.
As I had carried out some modifications to make the EQ3 tripod more rigid, it seemed a shame not to find use for it, so I decided to see if I could fit the small Bresser equatorial mount to it. It would certainly be possible, and I almost started turning up a large aluminium adaptor to fit between the EQ3 fitting and the Bresser mount.
A little reflection and I realised it would be easier to fit the Bresser tripod head (which combines tripod head and mount) to the EQ3 legs. the main task was to enlarge the holes in the Bresser head and make some thick, stepped delrin washers to make up the gap between the mounting lugs and head. I also had to remove a little plastic from two of the mounting lugs and add a shorter fixing bolt as some of the clearances were a bit tight.
Everything went together perfectly, leaving me with a an EQ3 tripod head that could be fitted on a static pier and the old Bresser tripod legs. Although the Bresser tripod can't easily be rebuilt I could restore the NEQ3 if I wanted to.
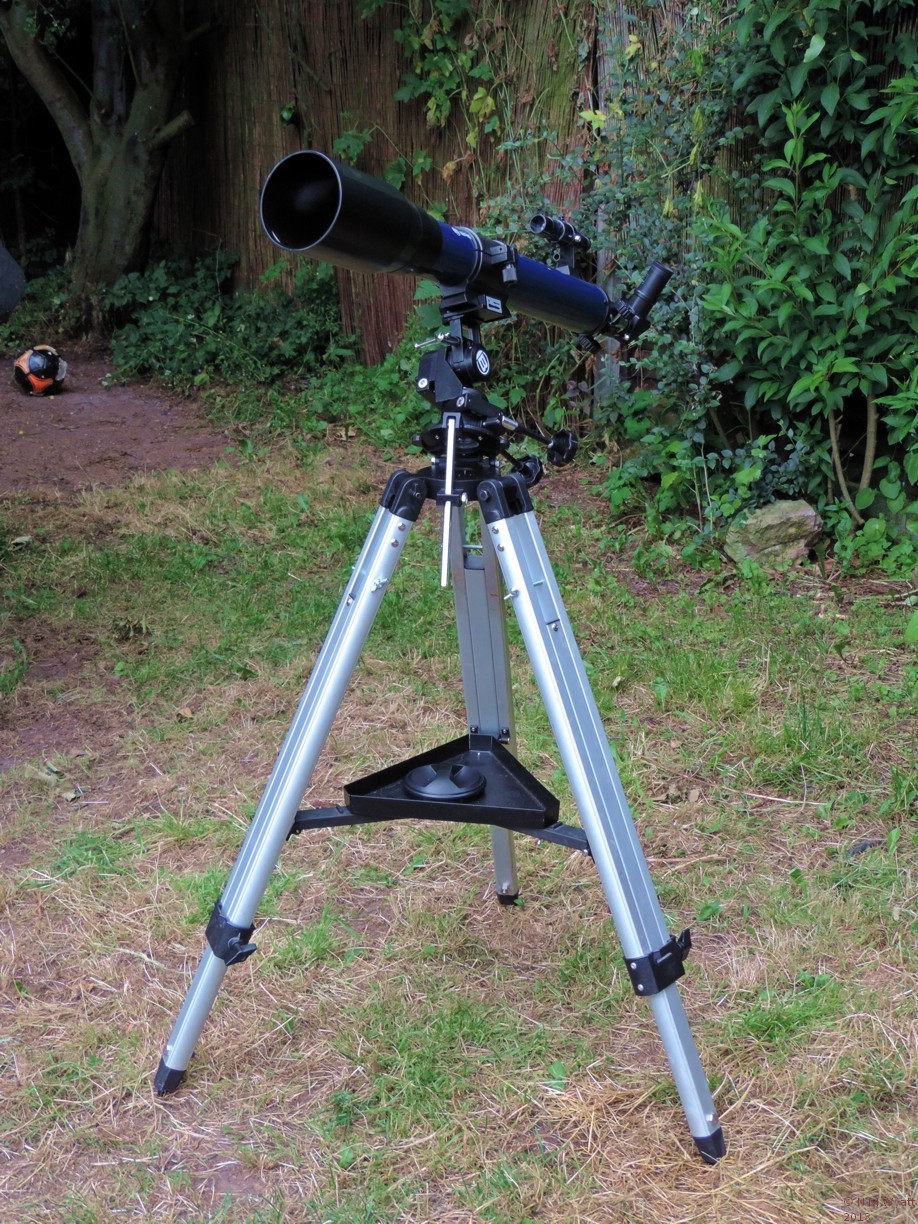
The end result? a light tripod with a compact equatorial mount that is much more rigid than the original tripod. It is not suitable for imaging but ideal as a grab and go mount for my smaller scope. I will probably add a right-ascension drive and it will then be great for sharing views of the night sky. I call it the Bresswatcher EQ2.5.
Bresswatcher NEQ2.5 Tripod and Mount
- Details
- Category: Astrophotography
Anyone who owns a reasonably sized telescope with an EQ3 mount and tripod (also known as NEQ3) has probably noticed that it is quite wobbly. There are a number of suggestions for reducing this wobble on the web, but what is the root cause of this problem so we can solve it properly?
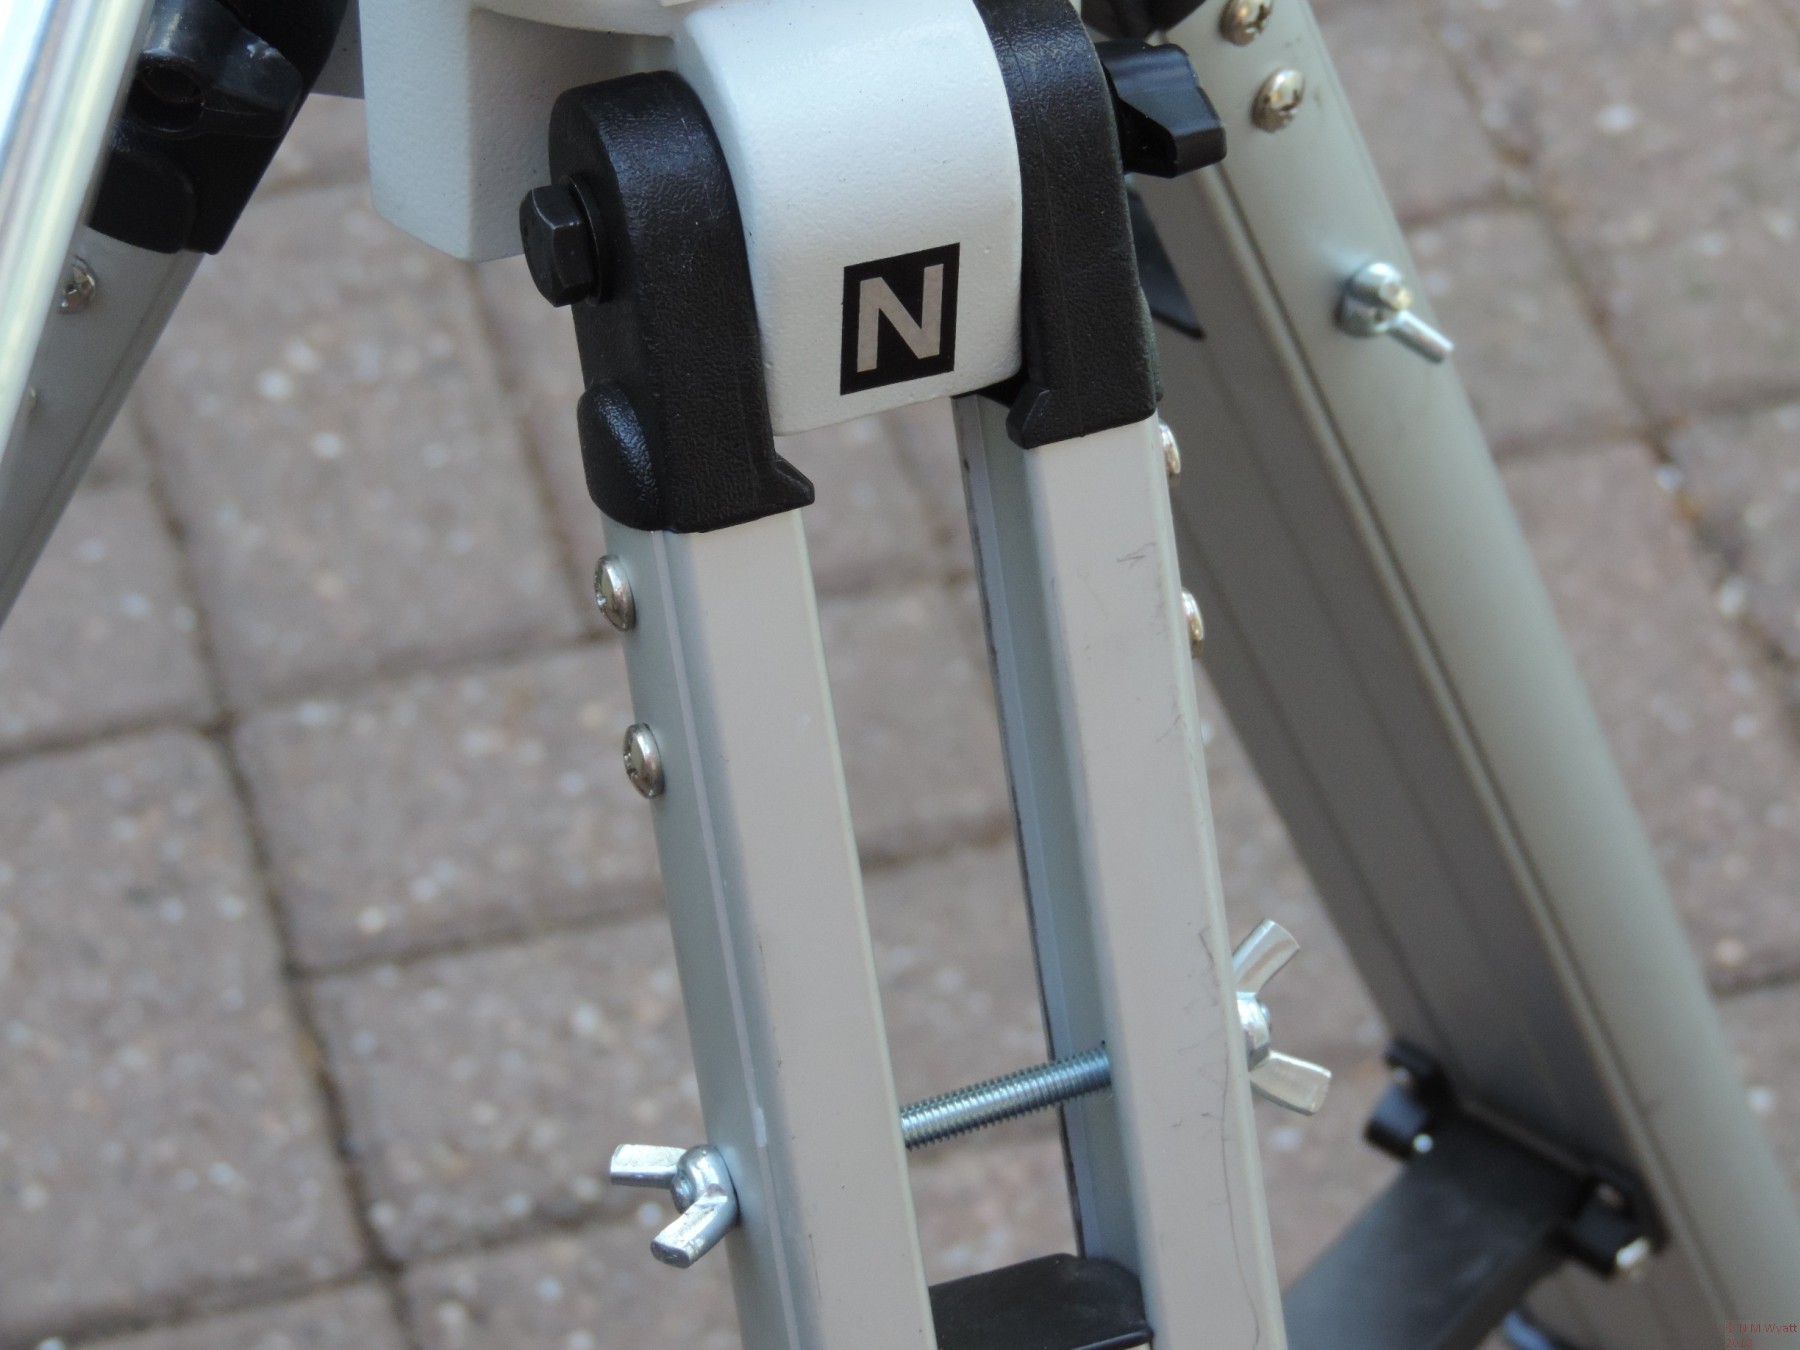
Vigorous twisting of the tripod head soon shows that the main problem is how the central part of each leg is only clamped right at the bottom of the outer legs. Some users over-tighten these bottom clamps in a vain attempt to firm things up, so you will see reports of various repairs for broken clamps, such as using a jubilee clip. The real solution is to add some form of clamping for the upper end of the inner legs.
I found the most effective solution was to use short pieces of stainless steel M6 and wingnuts, but this does mean drilling the tripod which could affect manufacturer guarantees and resale value - so do it at your own risk! These simple clamps pull the two outer legs together and very firmly clamp the top of the inner legs. I only use the tripod at one height, but if you use it at different heights you may need to add extra sets of holes lower down.
A second simple modification that greatly helped was epoxying the plastic lugs at the top of the outer legs into the tubes, as they are only fixed on one side which means they flex easily. Other, less effective, steps I took were filling the inner legs with sand and putting extra weights on the accessory tray, but everything helps!
The extra clamping fitted to an EQ3 tripod
- Details
- Category: Astrophotography
One of the biggest challenges I found when starting out with astrophotography was getting sharp focus. The simplest way to do this is just to use live view or take trial pictures until the 'dots' of stars are as small as possible.
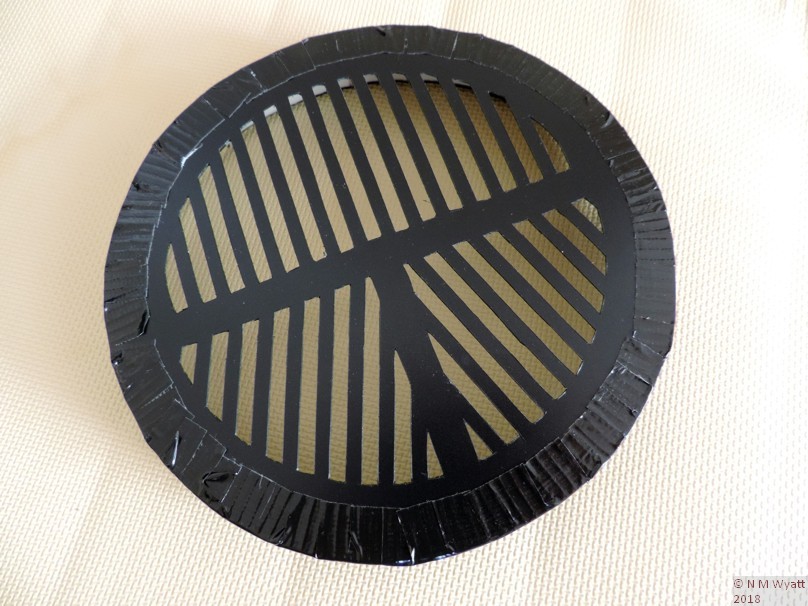
A really simple solution is a 'Bahtinov Mask'. This is a simple device that has a pattern of 'slits' at three different angles. Each set of slits diffracts the light that passes its edges and smears the light from each star into a double ended and rainbow coloured spike. This is my home-made Bahtinov mask (although i am now making my own 3D printed masks - download the STL files here).
A home-made Bahtinov mask cut from a plastic folder
Focusing with a Bahtinov Mask
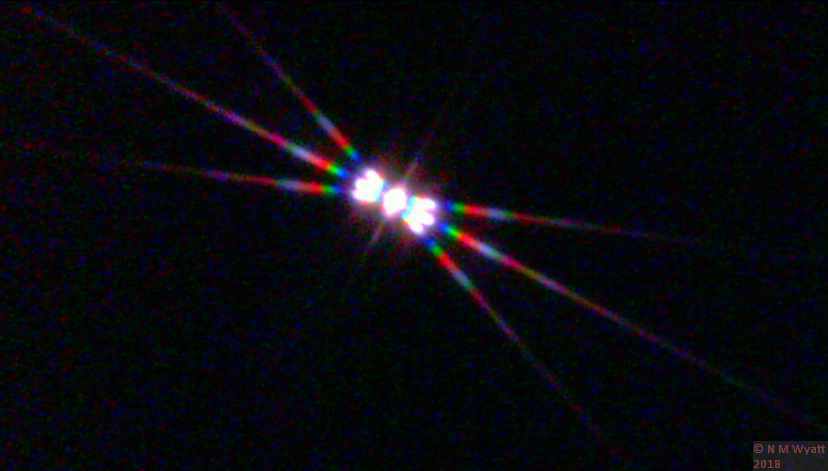
Naturally three sets of slits create three 'spikes' and the clever bit is that, when the scope is in perfect focus the three spikes cross at a single point. It is best to use a very bright star like Vega, Sirius or Capella and ideally in the same part of the sky as the object you want to photograph. If you have a live-view camera or are focusing for visual observing, just find the bright star, fit the mask over the end of the scope, and twiddle the focus until three colourful spikes appear. The central spike will move up and down across the two diagonal spikes, so keep twiddling until you get an image like this:
Focus is achieved when the central spike crosses the other two at dead centre. It is slightly low in this picture, a shorter exposure would give sharper but fainter spikes.
If the seeing is poor, the spikes may move slightly, so just aim for the best position. Bear in kind that VERY TINY movem,enmts of the focuser can be detected using the mask so be patient and get rewarded with spot on focus.
For a camera without live view I find an exposure of about 4 seconds at ISO8 gives a bright clear image.This has the advantage that any wobble of the lines caused by poor seeing is averaged out. Naturally you have to take several trial shots until you get it right. As the movement of the spikes is roughly proportional to the movement of the focuser, it usually only takes five to eight tries, assuming the scope is roughly focused to start with.
Getting the Best results from a Bahtinov Mask
The first rule is to make sure your scope has cooled down - this can take roughly five minutes for every inch of mirror or lens diameter. We are worrying about getting focus accurate to tiny distances (say a hundredth of a millimetre) and a steel-bodied scope a metre long will shrink by over a tenth of a millimetre for a ten-degree cooling down, this is to say nothing of how a mirror or lens will not focus accurately until is has cooled evenly.
When observing or photographing planets or even the moon, I get better results focusing on a nearby bright star as the mask should be used with a point source.
Some folk will tell you to always fit the mask the same way round so you know which way to turn the focuser. As it's so quick to use anyway, I don't bother.
If you swing the scope to look at distant parts of the sky or the temperature changes significantly, it's worth taking five minutes to refocus. If you are taking pictures, zoom in and check that your smallest stars really are tiny points.
If you want to get the very, very best results from wide field images, then the advice is to position the star at a point one-third in from the edges of the image or field of view, rather than the centre as you might do if you were photographing planets, for example.
Making a Bahtinov Mask
If you put 'bahtinov mask' into your favourite search engine, you will find dozens of people happy to sell you one, but it isn't hard to make your own. First, you need the layout for your mask, the easiest way is to use a pre-prepared pdf template, but if you want to customise the layout and size of your mask you can use an online generator, however the one linked to produces SVG files so you will need a suitable editor as printing it from your browser may not give you one the right size.
For my masks I printed out my template and taped it to a sheet of heavy-gauge black plastic from a document wallet. using a very sharp craft knife I cut out the slits (children of a certain age should use round-ended scissors and ask an adult to help).
I then cut a strip of foam from a camping mat and adjusted the length of this so it was close fit on the end of my scope. Off the scope I superglued the ends together. Back on the scope, I overlapped the end with a length of black gaffa tape which i then cut little slits into so it became a ring of sticky tabs. It was not too hard to drop the masks inside the ring and neatly(ish) fold over the tabs. Jon done!
Results
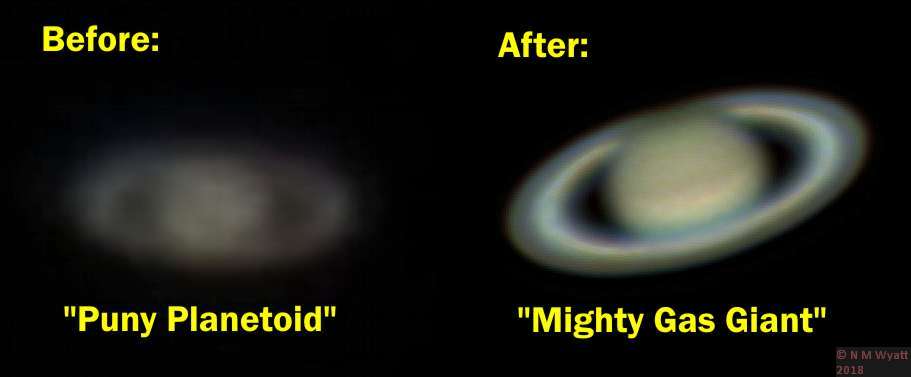
Use a Bahtinov mask and you will see an instant improvement in your imaging:
The Charles Atlas of Planetary Imaging (your mileage may vary, simulated image, serving suggestion)
- Details
- Category: Astrophotography
Page 21 of 23

